Data Protection Lab
Overview
Nutanix provides the ability to perform VM/vDisk-level storage snapshots. Protection Domains (PDs) are the construct for grouping VMs and applying snapshot and replication policies.
In this exercise you will use Prism to create and restore from VM snapshots, as well as create a Protection Domain for your VMs.
Data Protection
VM Snapshots
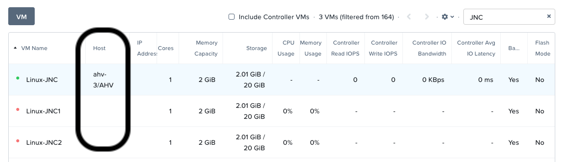
In Prism Element > VM > Table, select your Initials-Linux_VM VM.
If the VM is powered on, perform a Guest Shutdown power action.
Select the VM and click Take Snapshot from the menu below the table.
Provide a name for your snapshot and click Submit.
Select the VM Snapshots tab below the table to view the available snapshots for the selected VM.
Under Actions, click Details to see all of the VM’s properties at the time of the snapshot.
You can see the snapshot contains VM state in addition to just its data.
Now it’s time to break your VM!
Click Update to modify your VM and remove both the CD-ROM and DISK by clicking the X icon for each item.
Click Save.
Attempt to power on the VM and launch its console window.
Note that the VM no longer has any disks from which to boot and that the 2048 game is displayed.
Power off the VM.
Under VM Snapshots, select your snapshot and click Restore to revert the VM to a functioning state.
Alternatively you can click Clone to restore to a new VM.
Verify that the VM boots successfully.
As previously mentioned, Nutanix snapshots use a redirect-on-write approach that does not suffer from the performance degradation of chained snapshots found in other hypervisors.
Protection Domains
In Prism Element > Data Protection > Table, click + Protection Domain > Async DR to begin creating a PD.
Note
Synchronous replication (Metro Availability) is currently support on ESXi. It will be supported in AHV in a future release.
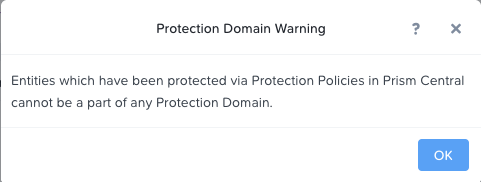
When opening the Data Protection context of the menu a warning screen will appear. Click on the OK button to move forward.
Provide a name for the PD, and click Create.
Filter or scroll to select the VMs created during this lab that you want to add to the PD.
Click Protect Selected Entities and verify the VMs appear under Protected Entities.
Consistency groups allow you to group multiple VMs to be snapshot at the same time, e.g. multiple VMs belonging to the same application.
Note
Nutanix snapshots can perform application consistent snapshots for supported operating systems with NGT installed. Each VM using application consistent snapshots will be part of its own consistency group.
Click Next.
Click New Schedule to define Recovery Point Objective (RPO) and retention.
Configure your desired snapshot frequency (e.g. Repeat every 1 hour)
Note
AHV supports NearSync snapshots, with RPOs as low as 1 minute.
Note
Multiple schedules can be applied to the same PD, allowing you to take and retain X number of hourly, daily, monthly snapshots.
Configure a retention policy (e.g. Keep the last 5 snapshots)
Note
For environments with remote cluster(s) configured, setting up replication is as easy as defining how many snapshots to keep at each remote site.
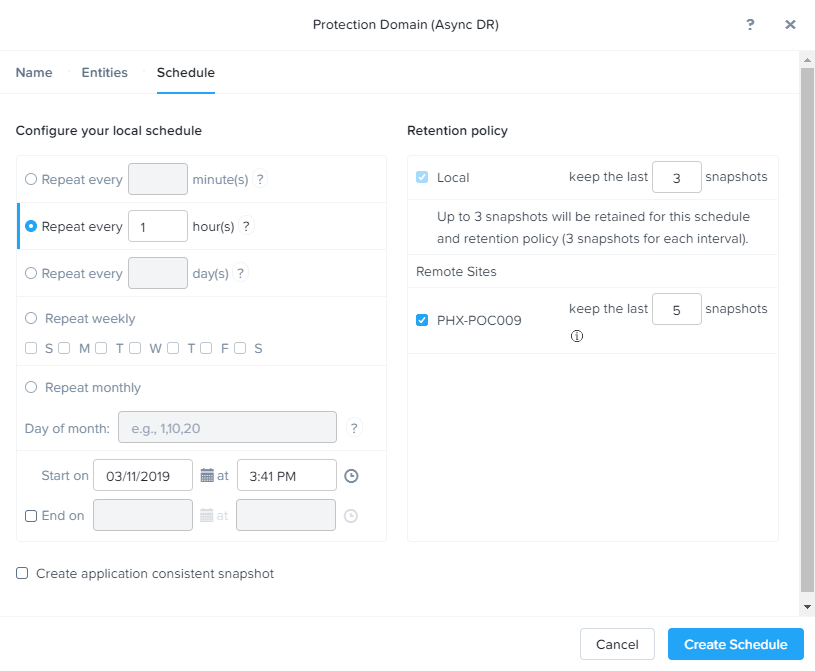
Click Create Schedule.
Click Close to exit.
Additional information can be found here.
That’s it! You’ve successfully configured native data protection in Prism.
Takeaways
Nutanix offers data protection solutions for virtual datacenters via different strategies including one-to-one or one-to-many replication.
Nutanix provides data protection functions at the VM, file, and volume group level, so VMs and data remain safe in a crash-consistent environment.
VM-level snapshot and replication policies can be managed through Prism for any supported hypervisor.