Karbon: Deploy an Application
Overview
In this module you are going to deploy the Wordpress on the Kubernetes Cluster you’ve created earlier (using MySQL as the database layer).
Note
Make sure you have the pre-requirements installed and ready for running! If you are not sure please follow install_wget and install_kubectl to make sure you have the required applications available.
In this lab we will download the kubeconfig, interact with our cluster from the command line with kubectl, and deploy the Wordpress application.
Note
All the screenshots have been created using a Windows machine. This due to the fact that most of the tools that are used for this module are not easy to be installed/used. Also the directory in which is being run from commands is the Downloads directory of the logged in user.
Set up Kubeconfig
In this task you will download your Karbon Kubernetes cluster’s kubeconfig file and apply that file to kubectl to enable you to control your Kubernetes cluster.
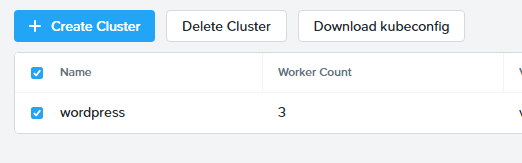
Navigate back to the Karbon UI. If your session has timed out, log back in with your Prism Central credentials.
Select the cluster that you deployed, and click Download kubeconfig.
Configure kubeconfig Using Mac
From Terminal, run the following commands to setup your kubeconfig:
cd ~
mkdir .kube
cd .kube
mv ~/Downloads/kubectl* config
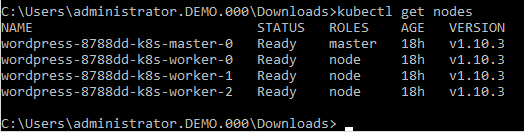
kubectl get nodes
Verify that the output of the last command shows 1 master node, and 3 worker nodes.
Configure kubeconfig Using Windows
From PowerShell, run the following commands to setup your kubeconfig:
cd ~
mkdir .kube
cd .kube
mv ~\Downloads\kubectl* config
kubectl get nodes
Verify that the output of the last command shows 1 master node, and 3 worker nodes.
Use kubectl command
Now that you have defined the kubeconfig file, you should be able to connect to the kubernetes cluster.
Cluster and client version
To see the version of the kubernetes client and server run:
kubectl version

Cluster info
To see the information of the kubernetes cluster run:.
kubectl cluster-info
This will provide information on where the Kubernetes Master is running and the KubeDNS URL.

Cluster nodes
To see which master and worker nodes are in the kubernetes cluster run:
kubectl get nodes

Running pods
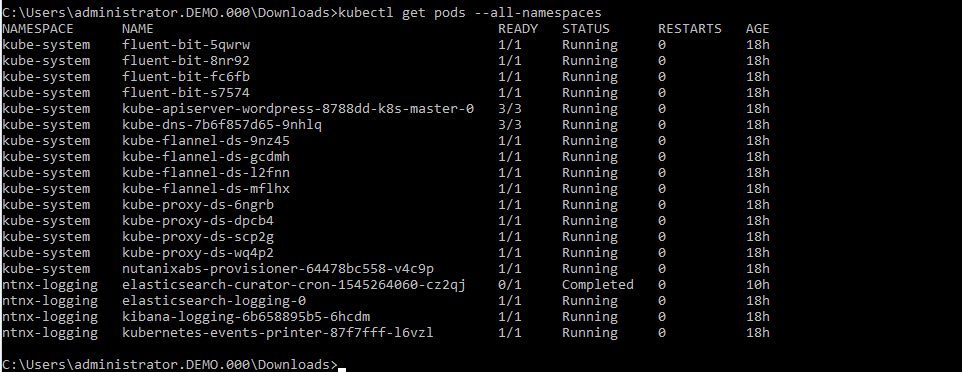
If you are interested in all the pods that are running after the installation of the kubernetes cluster run:
kubectl get pods --all-namespaces
Deploy Wordpress
Now that you have seen the high level information of the kubernetes cluster it is time to deploy our Wordpress application.
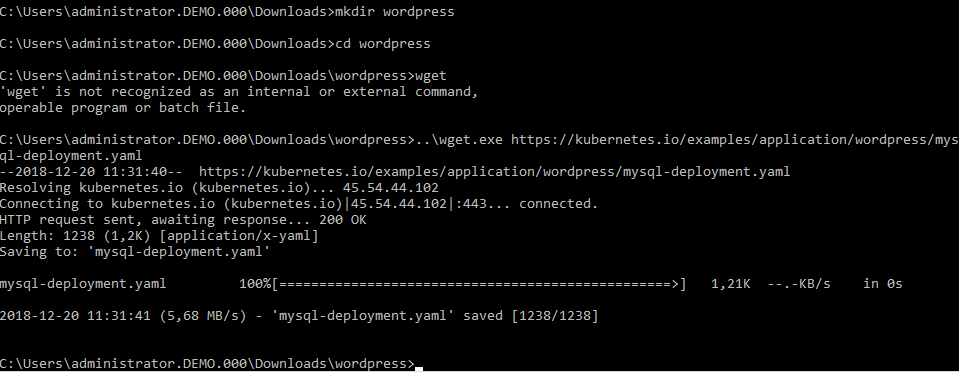
Create a directory in the location you are in via the command line named wordpress, and change into that directory.
mkdir wordpress

cd wordpress
Note
Kubernetes needs yaml files to create applications and their dependencies. You are going to download two yaml files and store them in the just created wordpress directory. Look at https://www.mirantis.com/blog/introduction-to-yaml-creating-a-kubernetes-deployment/ or at https://kubernetes.io/docs/concepts/workloads/controllers/deployment/ to get more information on yaml and kubernetes.
** MAKE SURE YOU ARE IN THE WORDPRESS DIRECTORY BEFORE PROCEEDING!!!**
To download the needed yaml file for wordpress mysql deployment run the following command:
wget https://kubernetes.io/examples/application/wordpress/mysql-deployment.yaml
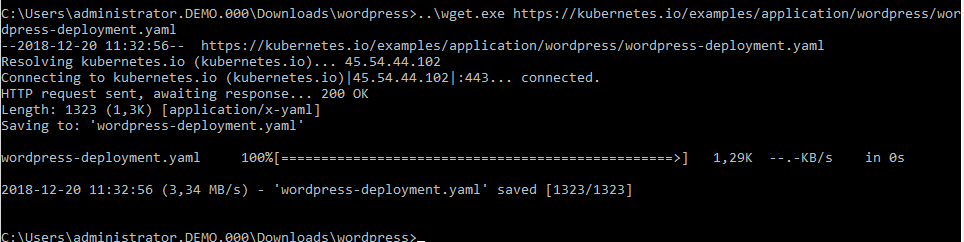
To download the needed yaml file for wordpress deployment run the following command:
wget https://kubernetes.io/examples/application/wordpress/wordpress-deployment.yaml
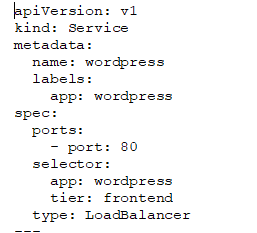
Now open the wordpress-deployment.yaml file with your preferred text editor.
Note
Use WordPad on Windows for opening and editing YAML files.
On Mac use TextEdit for opening and editing YAML files.
Change the line that shows: type: LoadBalancer under spec: and change LoadBalancer into NodePort.
Note
Reason for this change is that Karbon does not (yet) support LoadBalanced.
Change back to the kube directory, and then run the following command to create the mysql password:
kubectl create secret generic mysql-pass --from-literal=password=Nutanix/4u!
This should return:
secret/mysql=pass created

To check that the password has been created, run the following command:
kubectl get secrets
This should show mysql-pass under NAME.

Creating the MySQL database is done by running the following command:
kubectl create -f wordpress\mysql-deployment.yaml

This will also create persistent storage.

This storage will also show up in the Karbon UI under wordpress -> Volume.

You can now run the following command:
kubectl get pods
It will show the wordpress-mysql pod running.

To create the wordpress application, run the following command:
kubectl create -f wordpress\wordpress-deployment.yaml

This will also create persistent storage and a pod.
You can now run the following command:
kubectl get pods
It will show both pods running.
Accessing Wordpress
Our Wordpress with mysql application is now running.
Now we need to make a connection to the Wordpress UI to configure the application.
To get the IP address where the UI is running, we need to see what the worker nodes are on which the application is running.
Lets show a list of a Master and worker nodes, run the following command:
kubectl get nodes
To get the IP address of one of the workers, run the following command:
kubectl describe nodes | Select-String -Pattern "InternalIP"

Search in the information that is provided, a line that starts with Address: and note the InternalIP.

As the application is running on an internal network inside the kubernetes cluster, we also need to have the service port on which the wordpress application is running.
To see which port number is used to for the Wordpress application, run the following command:
kubectl get services wordpress

Putting the IP address and the service port together we can open the Wordpress UI. In our example 172.16.0.36:32387.
In a new Browser tab, go to http://172.16.0.36:32387
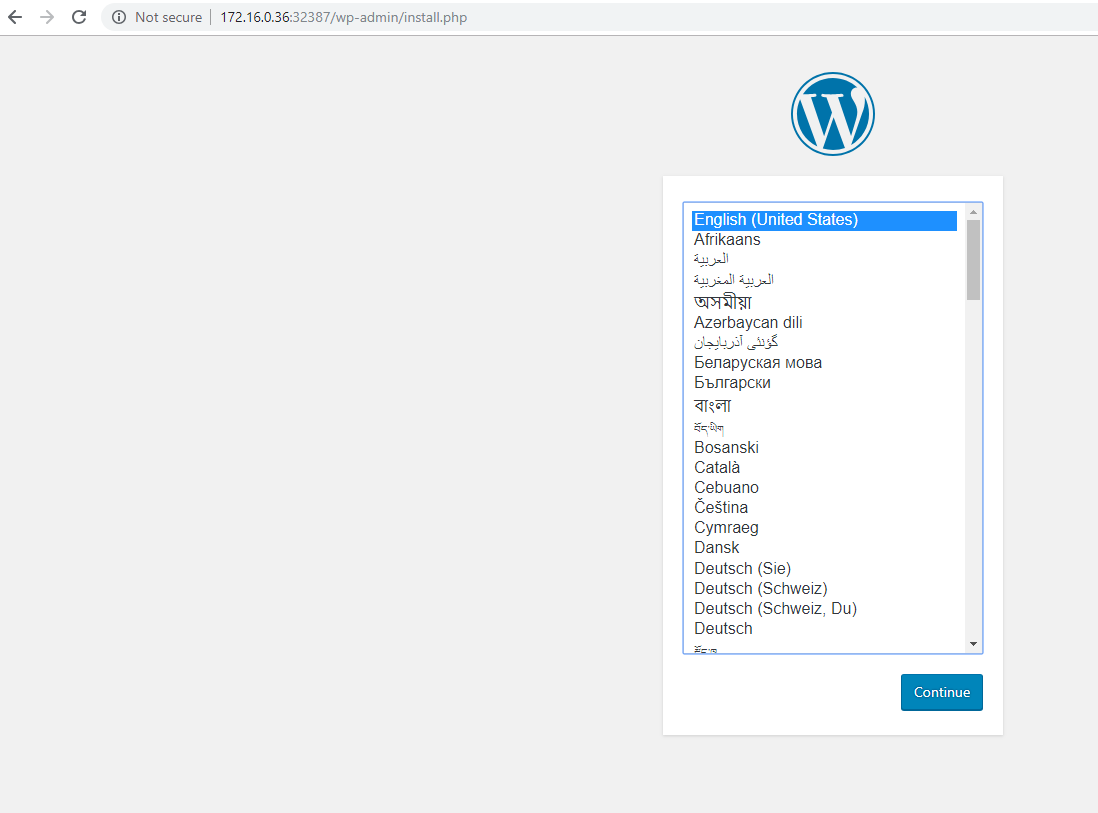
In the initial configuration page, provide the parameters that are asked for.
At the end of the settings, click the Log in button and login to the Wordpress UI.
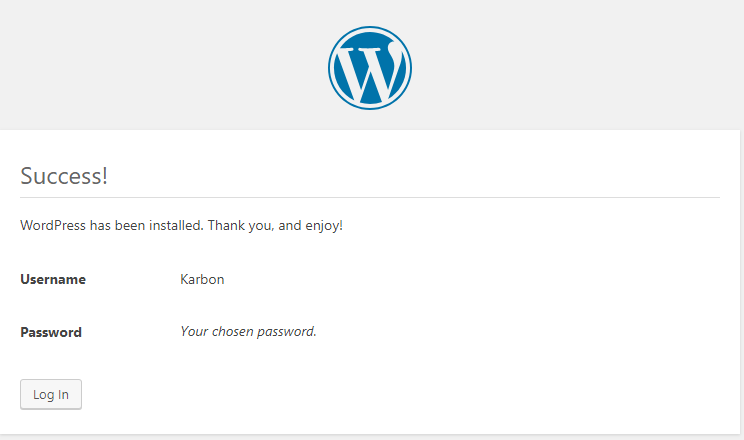
Your Wordpress application with MySQL as the database is running and ready….