Managing Citrix Desktops
The combination of Nutanix, AHV, and XenDesktop make for a smooth experience in deploying new infrastructure and virtual desktops - but what about as that environment changes and expands?
In this exercise you will perform “Day 2” operations for a XenDesktop environment, including expanding an existing Machine Catalog with more desktop VMs, and rolling out an updated gold image to your non-persistent Machine Catalog.
Adding More Desktops
Nutanix makes it simple to expand a cluster by 1 or more nodes through a One Click operation in Prism. In the below exercise, you’ll expand your pool of virtual desktops to take advantage of the compute and storage resources that you’re able to expand at will.
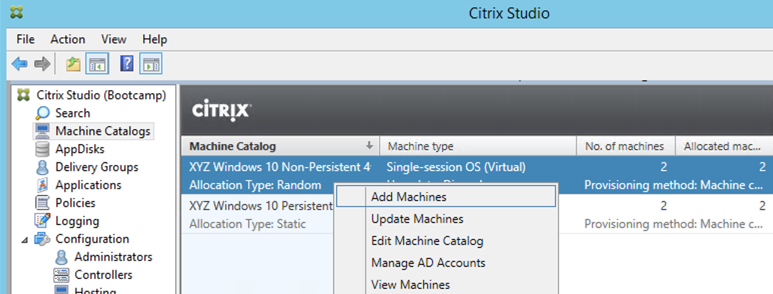
In Citrix Studio > Machine Catalogs, right-click your Non-Persistent Machine Catalog and select Add Machines.
Specify 1 as the Number of machines to add and click Next.
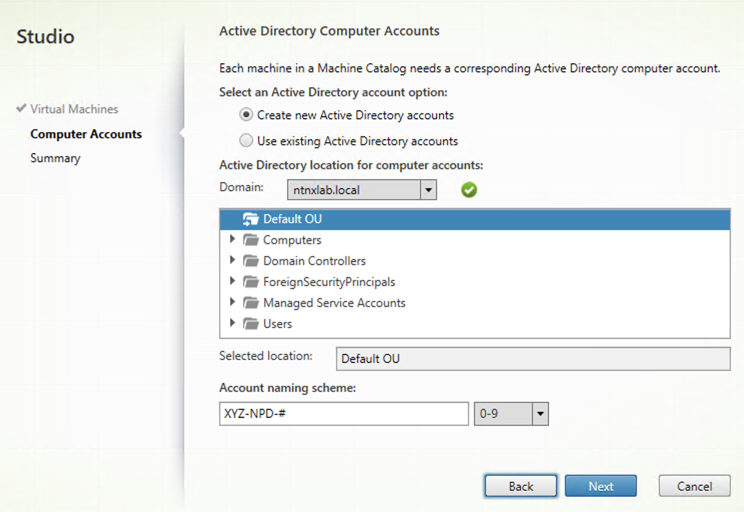
Confirm the existing OU and naming scheme and click Next.
#.Review configuration and click Finish.
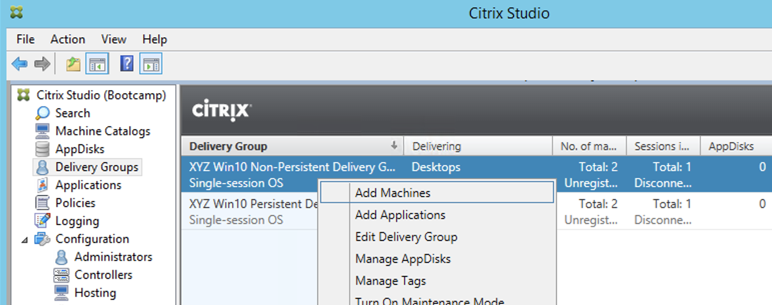
In Citrix Studio > Delivery Groups, right-click your Non-Persistent Delivery Group and select Add Machines.
Specify 1 as the number of Machines for this Delivery Group and click Next > Finish.
Note
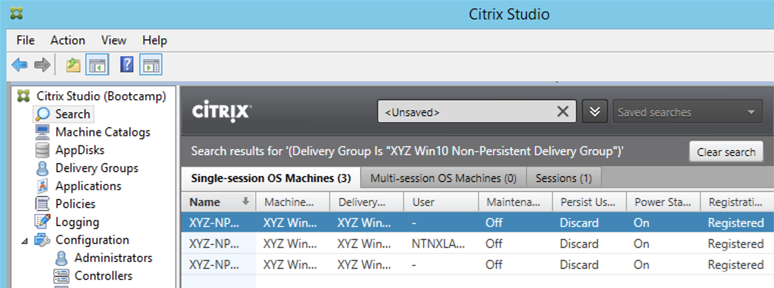
Double-click the Non-Persistent Delivery Group and observe that the new desktop is powered off. This is due to the Power Management settings configured in Delivering Non-Persistent Desktops.
Edit the Non-Persistent Delivery Group Power Management to increment the number of powered on machines.
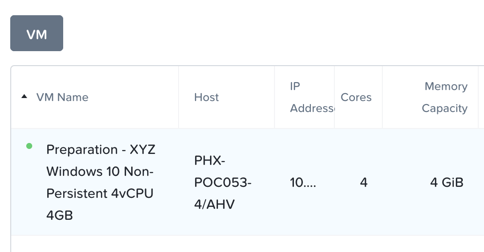
Observe the additional Initials-NP-# VM is then powered on in Prism and soon appears Registered in Citrix Studio.
Updating the Gold Image
One of the key benefits of non-persistent desktops is the ability to uniformly roll out updates to a large number of systems after only having made the change to your master image. In the exercise below you’ll walk through how fast and easy that process is with Citrix on AHV.
Power on your Initials-GoldImage VM and connect via VM console or RDP.
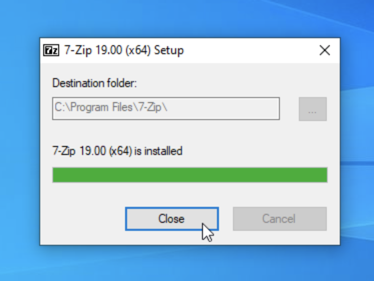
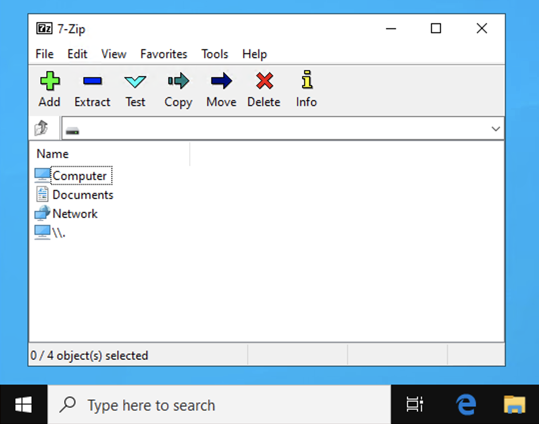
Within your GoldImage VM, install or update an application (e.g. PuTTY, Atom, 7Zip, etc.) and then shut down the VM.
Note
Your user is not part of the Local Administrators group, so you may be unable to install certain applications. If you encounter an error trying to install an application, hold the Shift key, right-click the installer, and select Run as different user. Use your NTNXLAB\Administrator credentials to complete the installation.
Once the Initials-GoldImage VM is powered off, select the VM in Prism Element and click Take Snapshot.
Note
As a reminder, the snapshot can ONLY be taken in Prism Element in order to be recognized by the Citrix AHV plug-in.
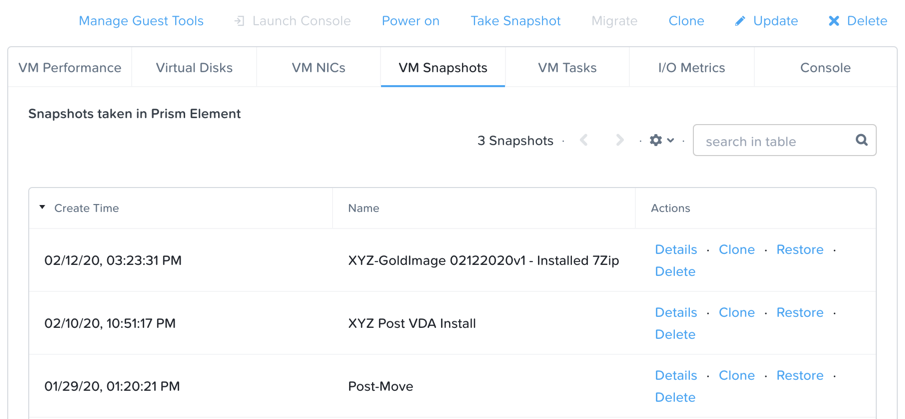
Specify a Name for the snapshot (e.g. “Initials-GoldImage vYYYYMMDD-X - Installed 7zip”) and click Submit.
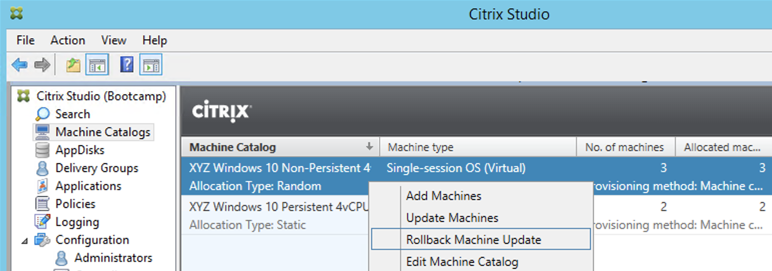
In Citrix Studio > Machine Catalogs, right-click your Non-Persistent Machine Catalog and select Update Machines.
Note
Update Machines is not available for your Persistent Machine Catalog as updates to persistent desktops are handled via traditional patch management tools.
Click Next.
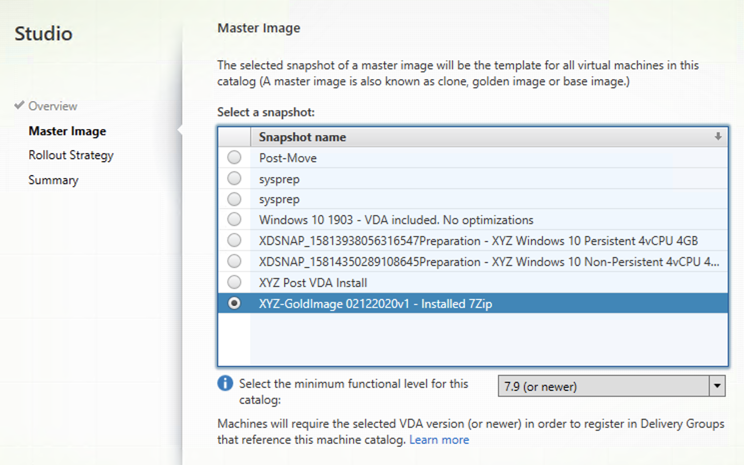
Select your updated Initials-GoldImage VM snapshot and click Next.
Fill out the following fields and click Next:
Select Immediately (shut down and restart the machine now)
Distribution time - Update all machines at the same time
Notify users of the update - Do not send a notification
Note
These choices are based on wanting to roll out an update as quickly as possible, but note Studio provides maximum flexibility for Rollout Strategy, allowing Administrators to proactively notify users and stagger gold image deployment for large pools over the period of several hours.
Review configuration and click Finish.
A new preparation VM will be cloned and booted to prepare the new snapshot.
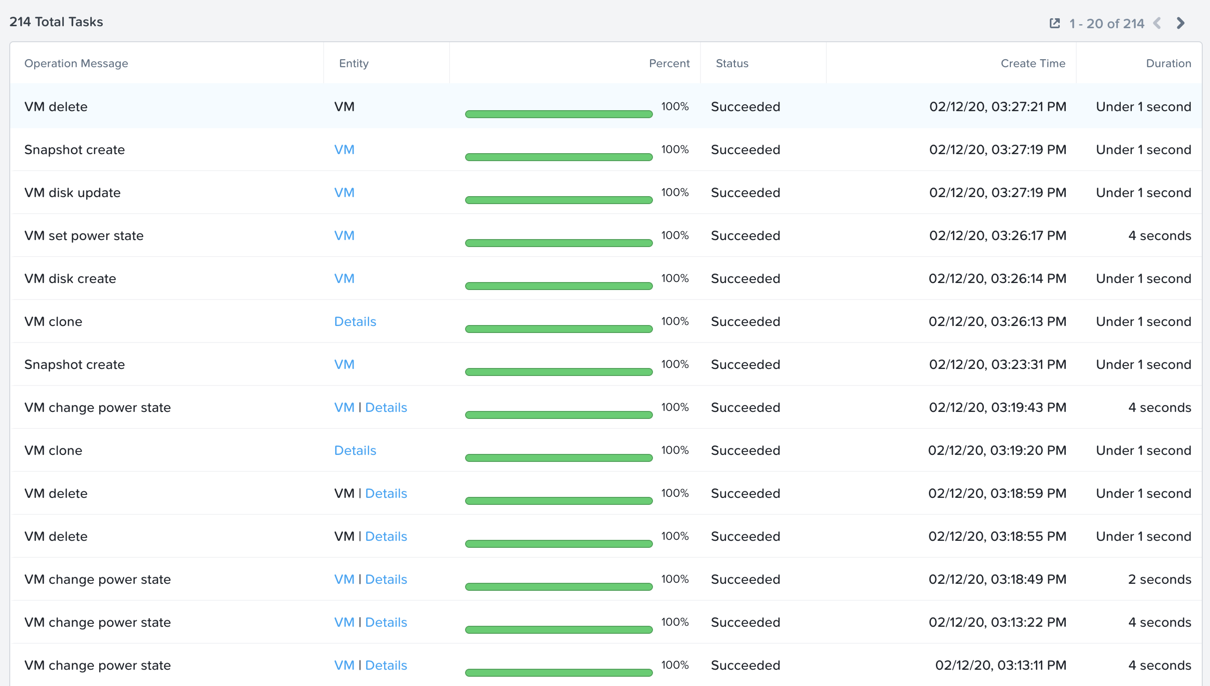
After the preparation VM is shut down and removed, Prism > Tasks will display the changing power state of VMs as they’re powered off. After several minutes you’ll see VM disk update tasks, which is MCS updating the cloned disk for the provisioned VMs to point to the new prepared snapshot.
Log in to Citrix StoreFront as NTNXLAB\operator01 and launch your Pooled desktop to verify the presented desktop reflects the updated image.
In Citrix Studio > Machine Catalogs, observe that you now have an option to rollback your Non-Persistent Machine Catalog to the previous snapshot.
Takeaways
Adding capacity to an existing Machine Catalog can be done rapidly. Combined with Nutanix’s ability to expand a physical cluster with a One Click operation, this enables an IT organization to be very responsive to changing business needs.
A Nutanix AHV cluster does not have to bottleneck cloning and power operations through a service similar to vCenter or SCVMM, meaning the ability to support more simultaneous operations scales out with the cluster. This scale out architecture compliments VDI operations such as expanding or updating a Machine Catalog.
Nutanix creates separate block maps (metadata mapping a vDisk to its corresponding extents) for each new snapshot created, eliminating the additional overhead and read latency common with large snapshot chains traditionally seen in other hypervisors. Gold image management is simplified by not having to mitigate the performance impact of snapshot chains.
Gold image versioning with MCS can be implemented easily through snapshot naming conventions.