Generating Logs
Overview
Install Log Generator App
Now let’s install the log generator app, so we can give Splunk something to consume.
SSH into the Splunk VM (Putty on Windows, Terminal on Mac)
Username - root
Password - nutanix/4u
ssh root@10.38.19.50
Copy down the GoGen files, modified for Nutanix/Splunk.
cd /tmp
curl -LJO https://github.com/livearchivist/splunk/raw/master/assets/TA-Nutanix.zip -o TA-Nutanix.zip
yum install unzip -y
unzip TA-Nutanix.zip
cp -r gogen-master/splunk_app_gogen /opt/splunk/etc/apps/
Restart Splunk so the new application shows up.
/opt/splunk/bin/splunk restart
Log back into the Splunk web interface, you’ll see that GoGen is now showing up in the application list.
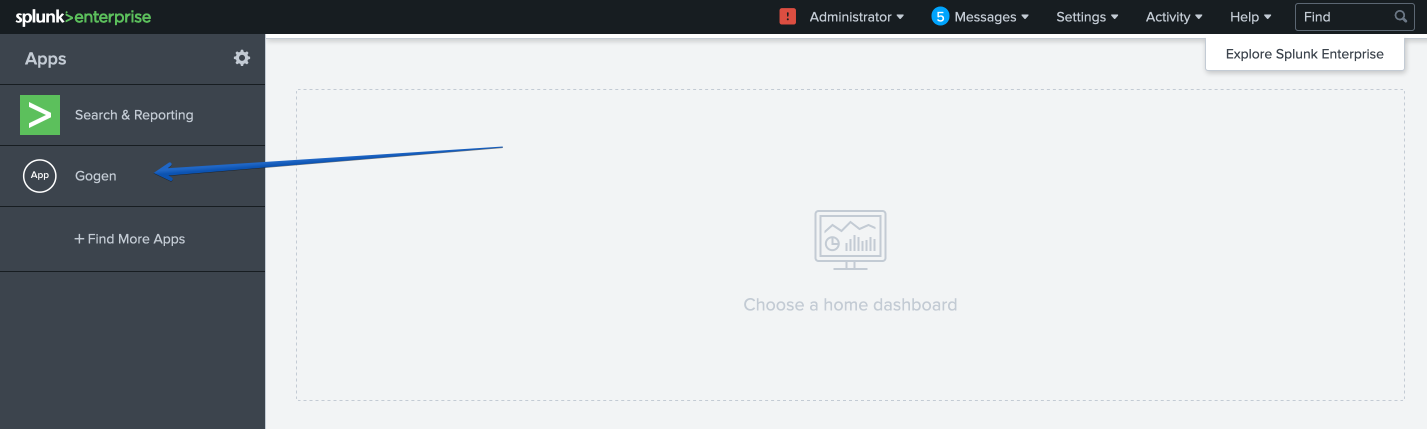
Click on Settings > Data Inputs.
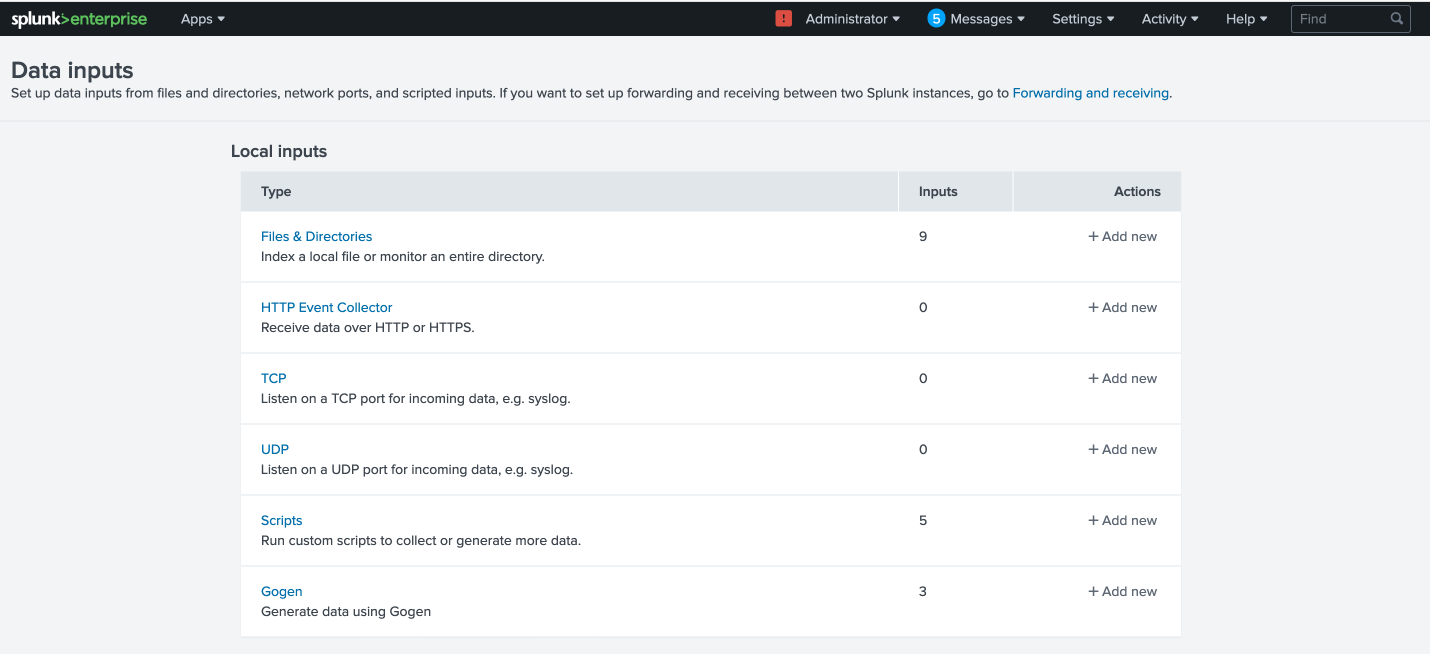
Click on GoGen.
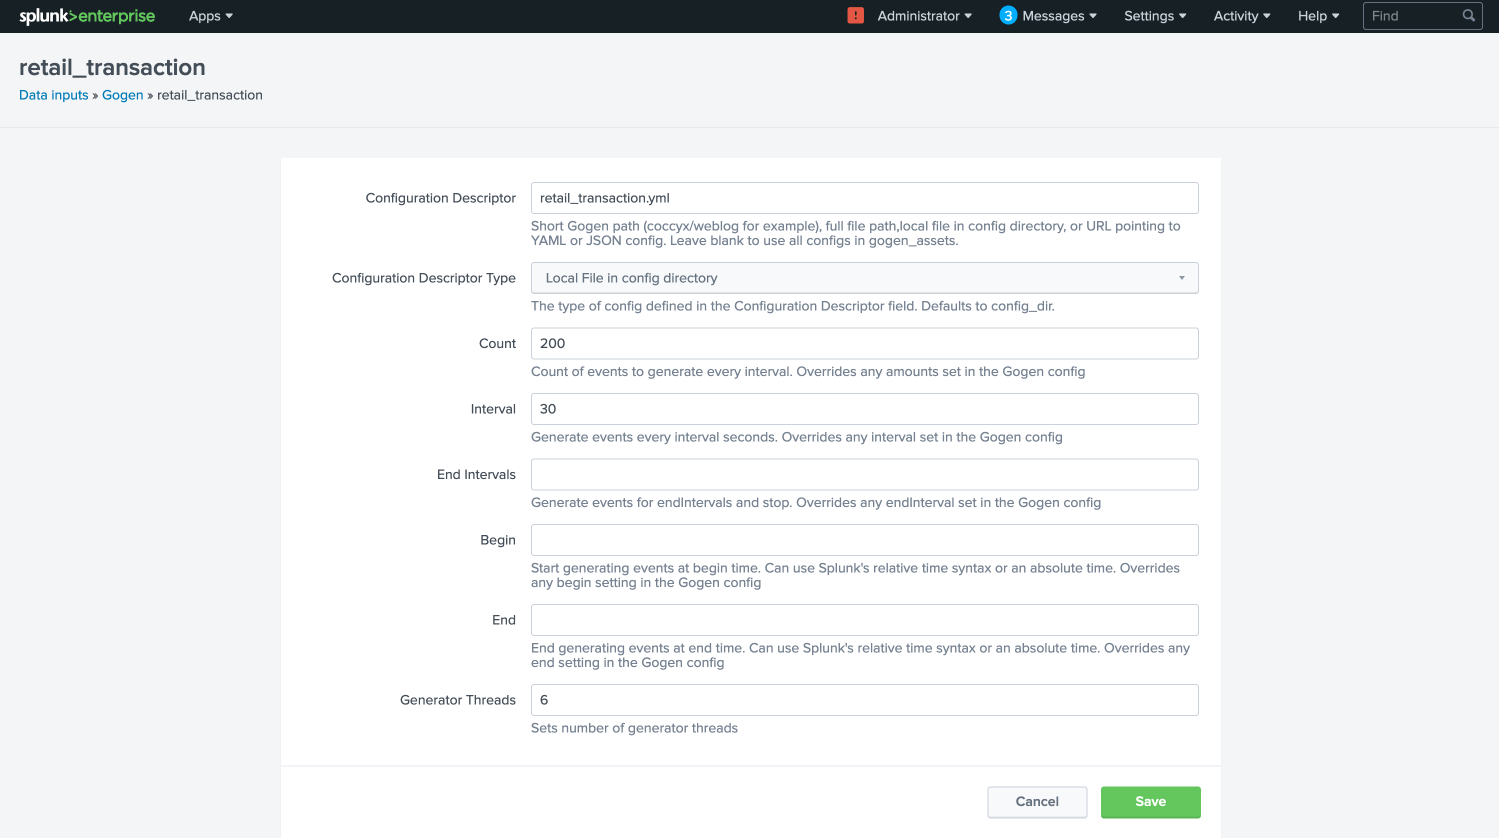
Click on the stanza name: retail_transaction.
Fill in the fields to look like the below image, click save:
Enable retail_transaction.
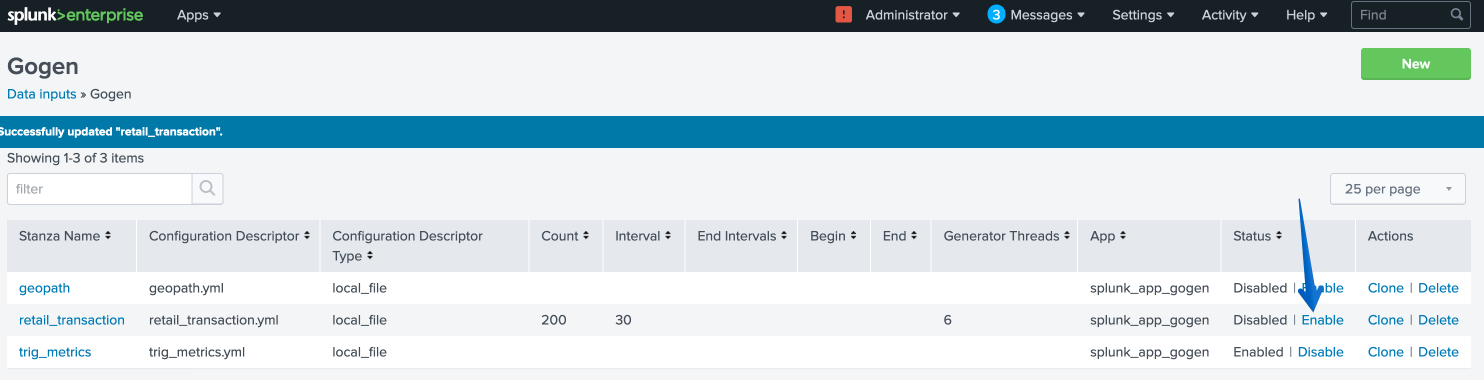
Restart Splunk one more time.
/opt/splunk/bin/splunk restart
Data in Objects
After a little bit of time, you should be able to head over to Objects in PC and see that your bucket is being populated with data.
Note
If after 5 minutes, you’re not seeing this, you can try running the following script from the Splunk server:
splunk _internal call /data/indexes/main/roll-hot-buckets -auth admin:nutanix/4u
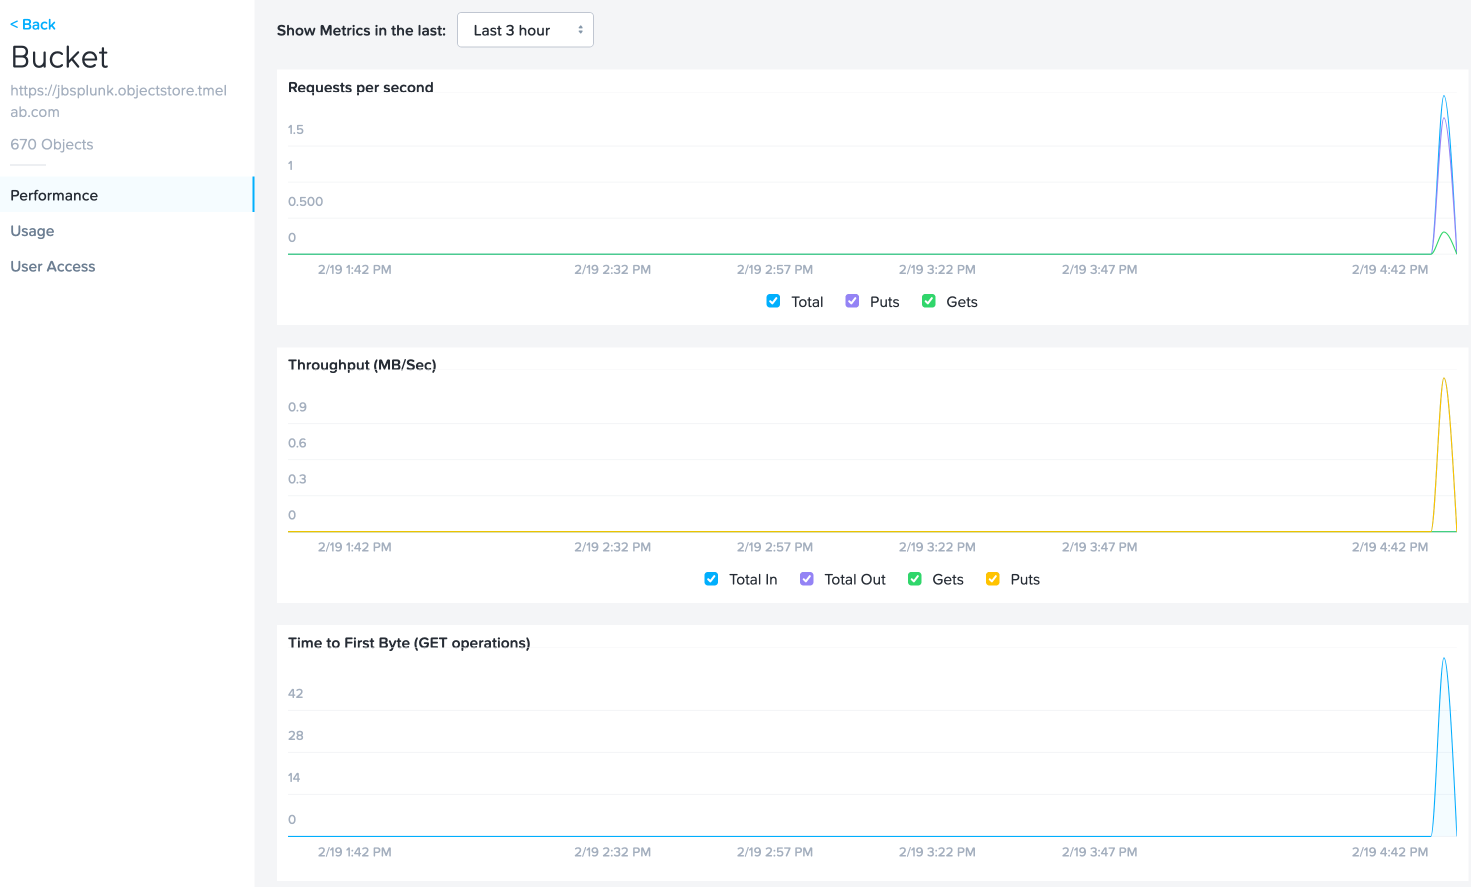
You can see in the performance information for my bucket that there have been some Puts and Gets, although the timeline is short for the purposes of this demo, these patterns would continue.
Takeaways
Nutanix Objects makes it easy for your customers to migrate to SmartStore, giving them the flexibility to scale incrementally as their Splunk environment grows.