Working with Files in Xi Frame
By default, sessions on Frame are stateless or non-persistent, which means that any changes you make to the C: drive will not persist on the virtual machine beyond your session. Any user files or settings are persisted separately.
In this lab, you’ll explore options for how to work with your own files in a Frame environment.
Uploading and Downloading
Moving files in and out of your cloud hosted desktop, if allowed based on administrative policy, is quick and easy.
From the Xi Frame portal, click Launchpad.

Launch a desktop from the Desktop Launchpad.
In the group of icons on the right side of the status bar, click on the up arrow to upload a file. Alternatively, you can drag and drop any file onto the session window in your browser.

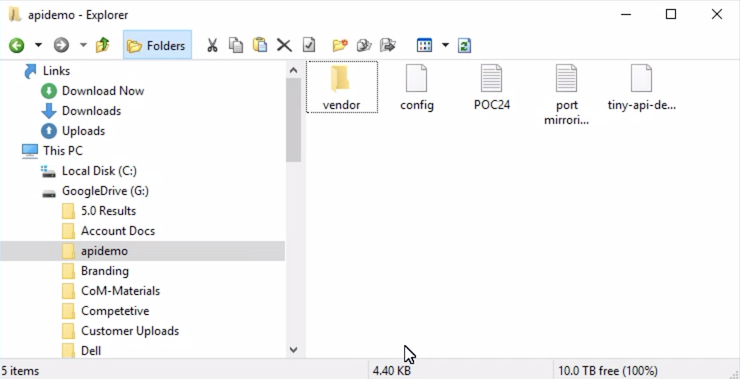
You can open the file from the Uploads folder found within the Frame Explorer.
Note
If accessing the full desktop, the Uploads and Download Now folders can be found in
C:\Users\Frame\.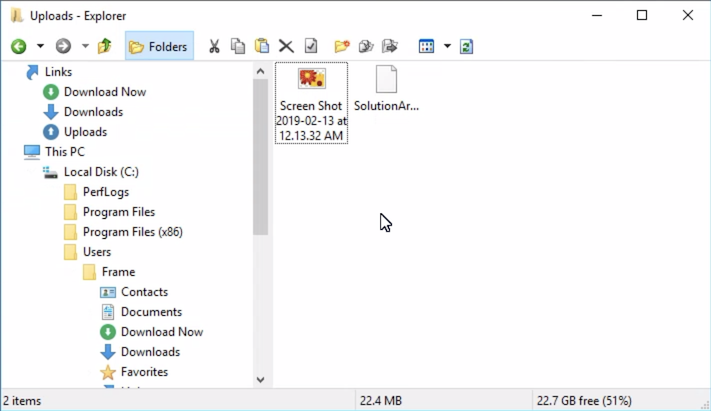
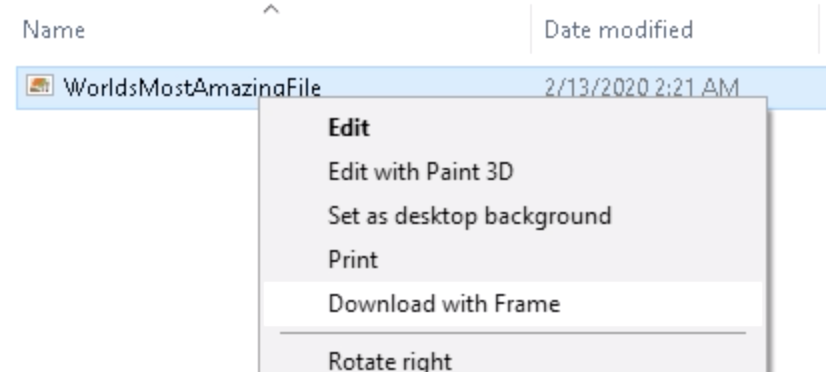
To download a file from your Frame desktop, simply save the file to the Download Now folder and it will automatically download to your browser’s default local downloads directory. Alternatively, you can right-click any file within File Explorer and select Download with Frame.
Using Cloud Storage
Users can attach cloud storage accounts from Google Drive, Dropbox, OneDrive, or Box to the Frame desktop via a simple, one-time process initiated from the Launchpad.
Click > Disconnnect > Disconnect to temporarily disconnect from your session.
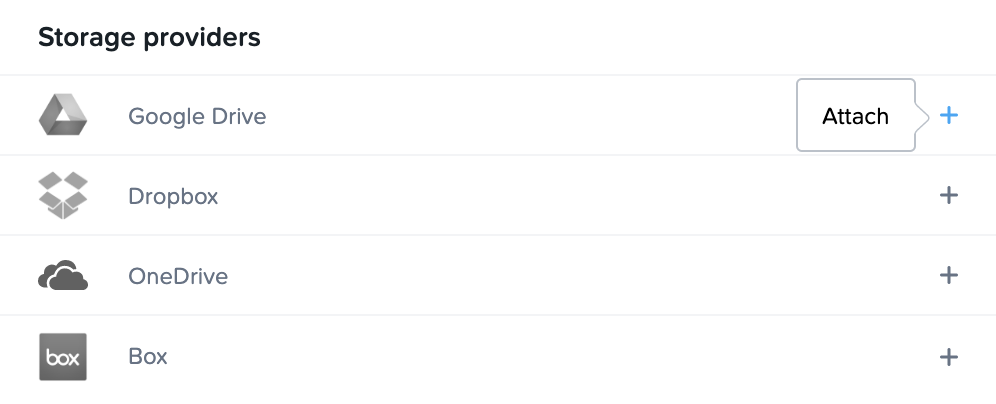
Select the User Name menu in the top, right-hand side of the Launchpad and click Edit.

Under Storage providers, click + next to your preferred cloud storage solution and authorize Frame to access the account.
Return to your Launchpad and then Resume your disconnected session.
Open Frame Explorer and note your cloud storage has been automatically mounted as a network drive (e.g. F:, G:, etc.).
Open a document from your cloud storage account.
Only the metadata is synced when the cloud storage is mounted as a network drive. Files are not synced. When you open a file, the file is temporarily transferred to your Frame session for use. When you save a file, the file is saved to cloud storage.
Using Nutanix Files
Similar to any on-premises Virtual Desktop solution, Nutanix Files is an excellent fit for providing easy to manage, scalable file services to host user profiles and data.
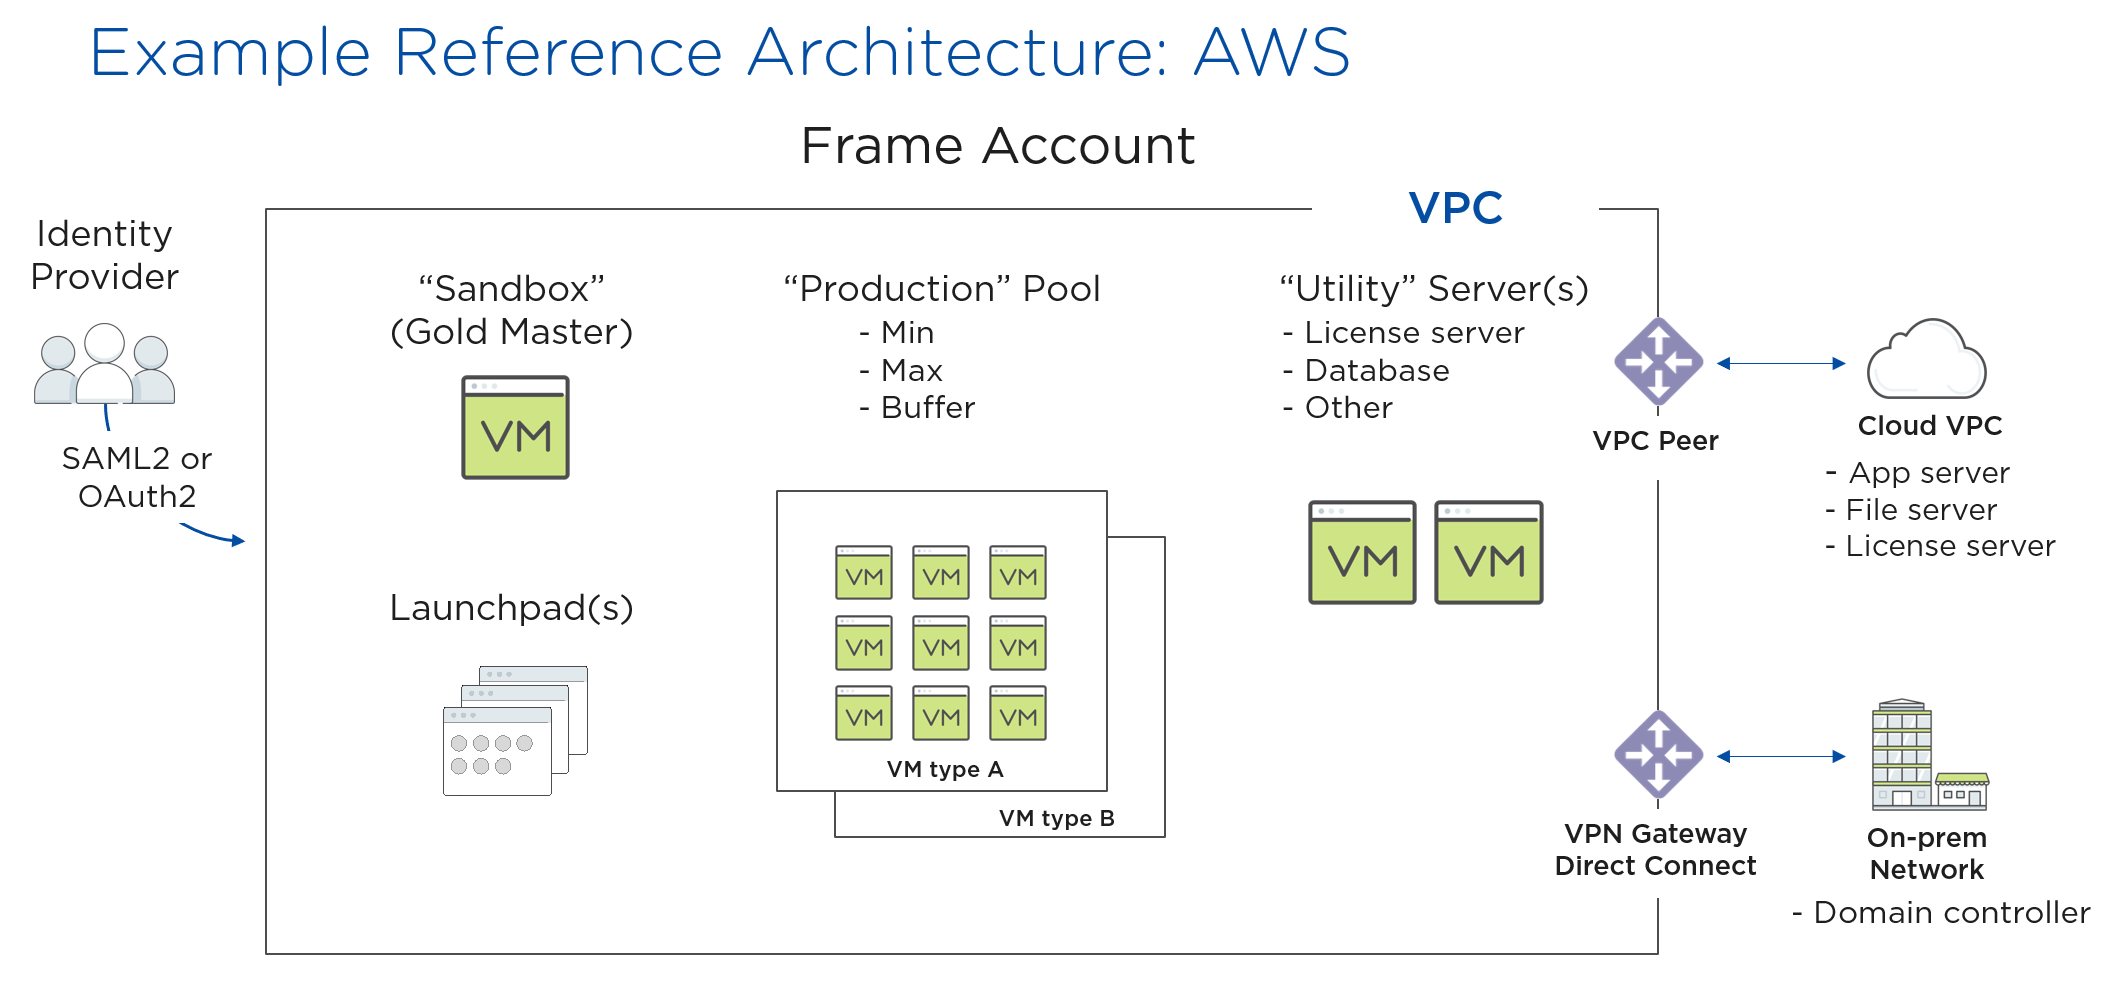
With a WAN networking solution in place, such as VPN, VPC/VNet peering, Direct Connect, etc., even cloud-hosted Frame desktops can access corporate resources like Files shares.
Due to not having the Frame desktops integrated with Active Directory in this environment, you will leverage Files for a simple departmental share and explore Files Analytics.
For the purposes of saving time and resources, a Nutanix Files instance has already been deployed to your cluster. For a quick overview on deploying Nutanix Files, click here.
In Prism Element > File Server > Share/Export, click + Share/Export.

Under Basic, fill out the following fields and click Next:
Name - Initials-DepartmentShare
Description - Fiesta Engineering Share
File Server - BootcampFS
Select Protocol - SMB
Note
As this environment leverages a single-node Files deployment, you are not given the option between Standard and Distributed share types. <Why are standard shares better for general purpose shares>
Fill out the following fields and click Next > Create:
Select Enable Access Based Enumeration (ABE)
Select Self Service Restore
Note
Access Based Enumeration (ABE) is a Microsoft Windows (SMB protocol) feature which allows the users to view only the files and folders to which they have read access when browsing content on the file server.
Self Service Restore enabled support for Windows Previous Versions on an SMB share.
Either of these features can be enabled/disabled on a per share basis.
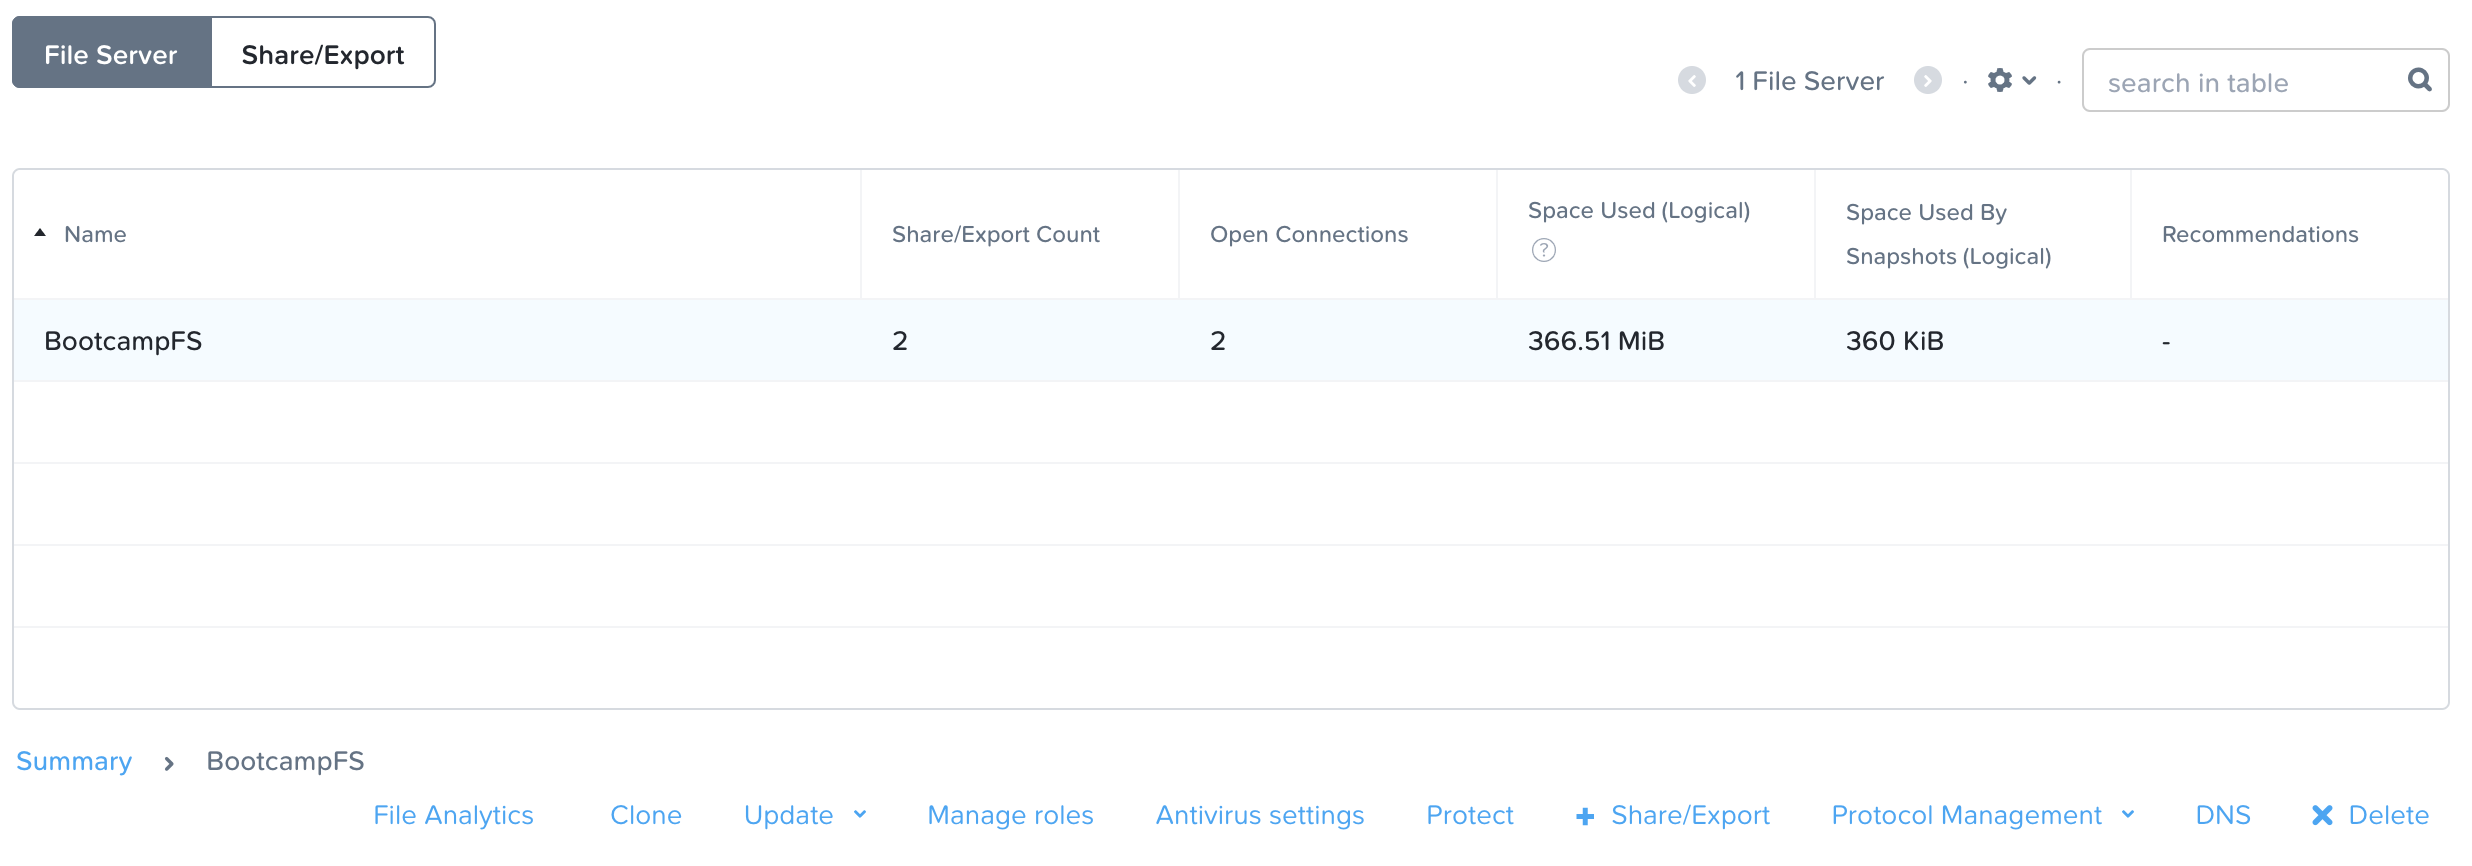
In Prism Element > File Server > File Server, select BootcampFS and click Protect.
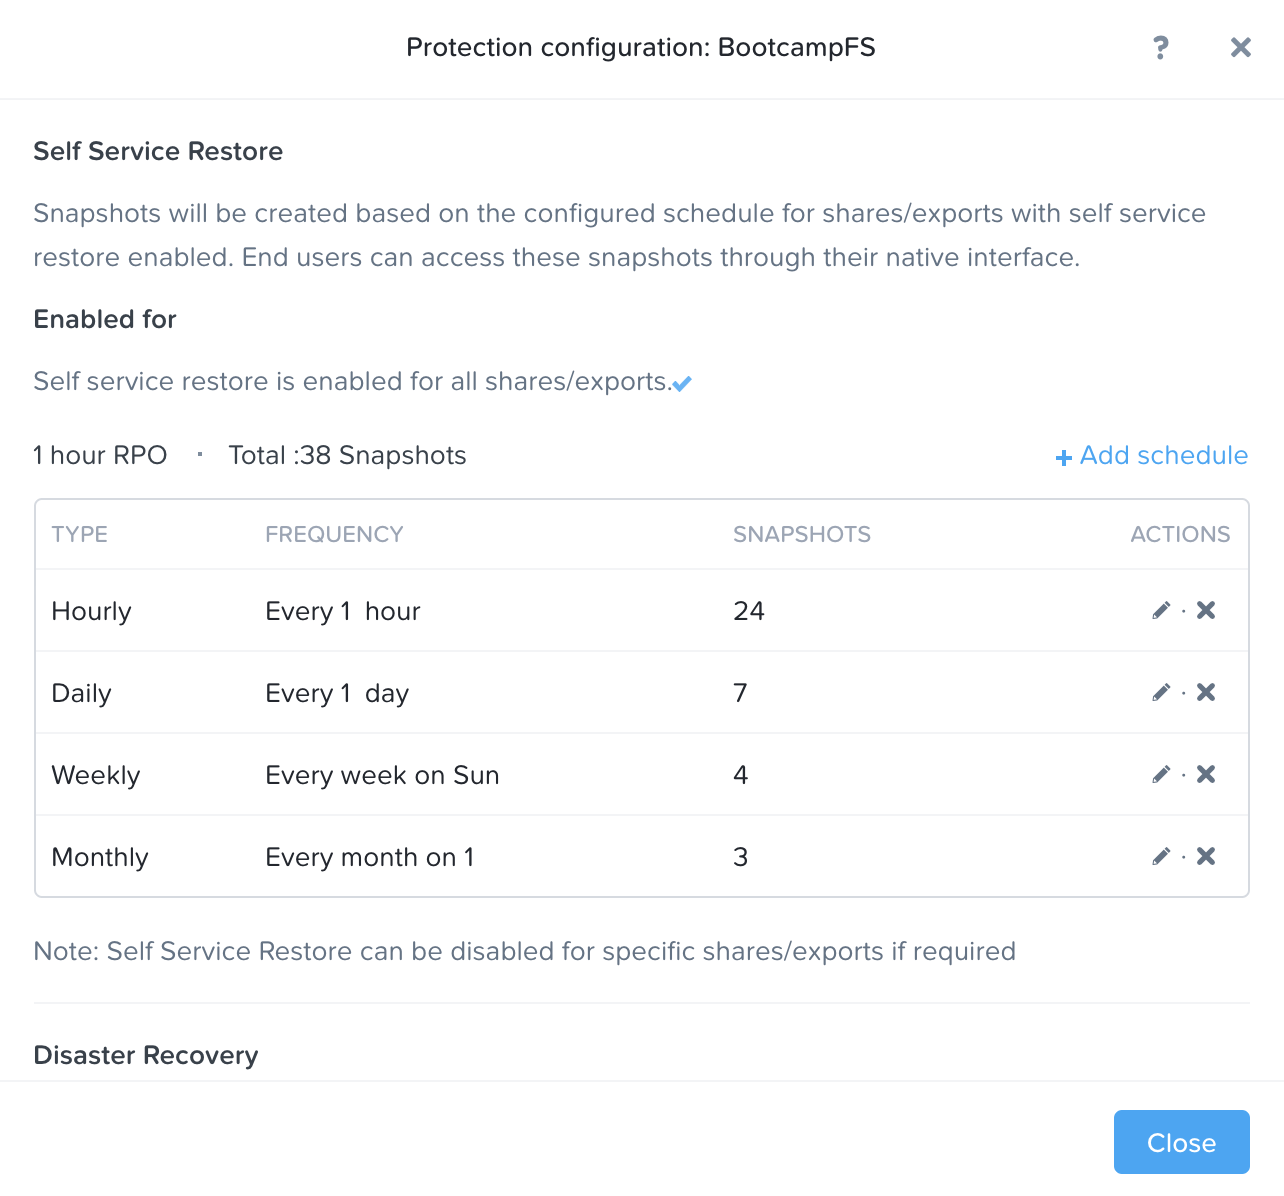
Observe the default Self Service Restore schedules, this feature controls the snapshot schedule for Windows’ Previous Versions functionality. Supporting Windows Previous Versions allows end users to roll back changes to files without engaging storage or backup administrators. Note these local snapshots do not protect the file server cluster from local failures and that replication of the entire file server cluster can be performed to remote Nutanix clusters.
Note
To learn more about Files capabilities, including Quotas, Antivirus integration, monitoring, and more, see the Nutanix Files Guide on the Nutanix Portal.
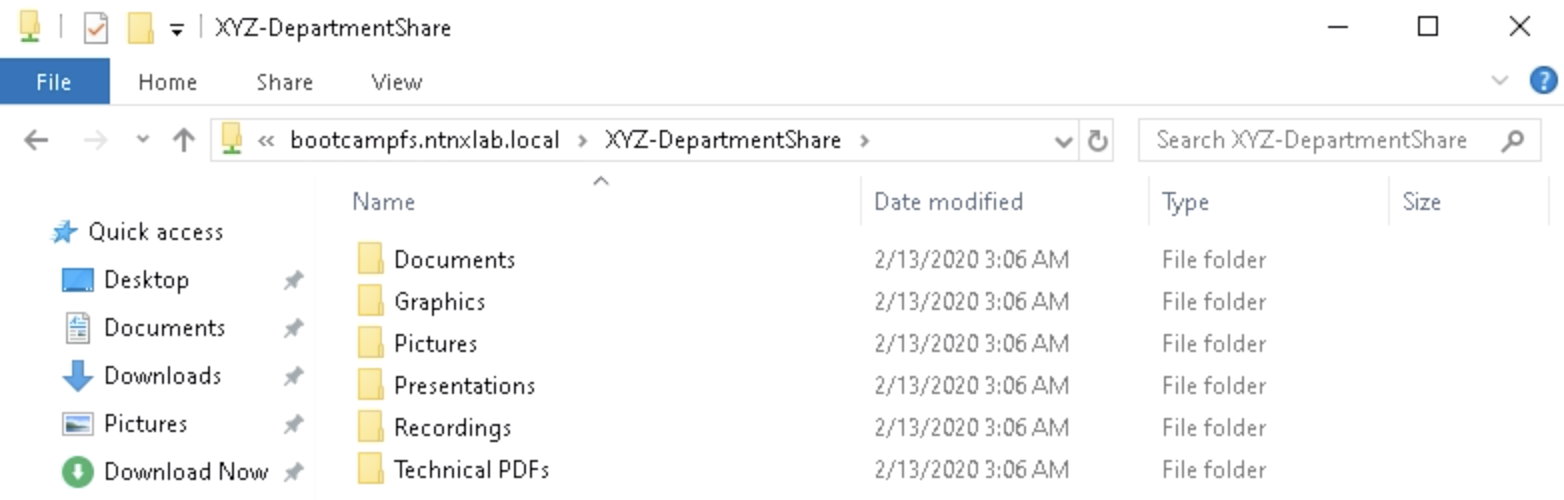
From your Frame desktop, validate you can access
\\BootcampFS.ntnxlab.local\Initials-DepartmentShare\from File Explorer. When prompted for credentials, authenticate using the following:User Name - ntnxlab.local\devuser01
Password - nutanix/4u
Select Remember my credentials
Open a browser within your Frame desktop and download sample data to populate in your share:
If using a PHX cluster - http://10.42.194.11/workshop_staging/peer/SampleData_Small.zip
If using a RTP cluster - http://10.55.251.38/workshop_staging/peer/SampleData_Small.zip
Extract the contents of the zip file into your file share and open several files.
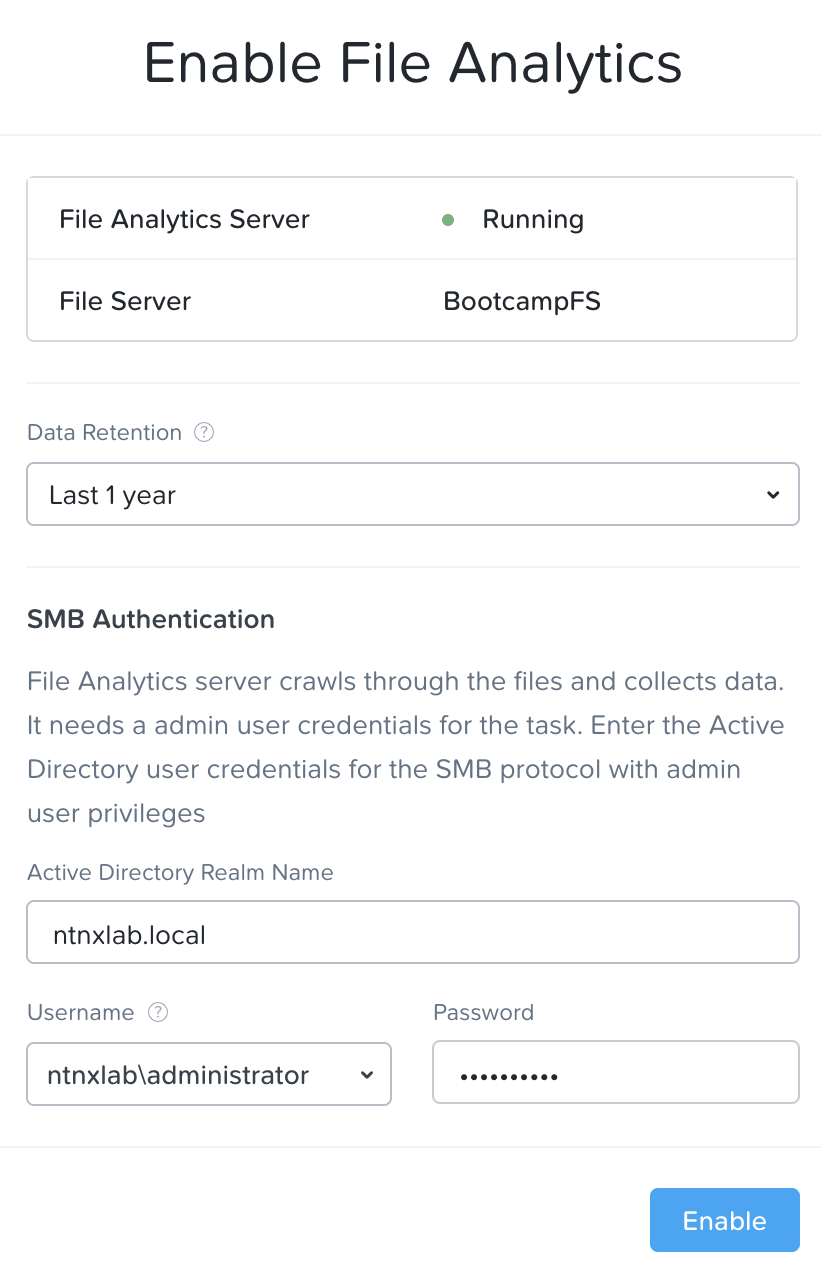
In Prism Element > File Server, select BootcampFS and click File Analytics.
If prompted to Enable File Analytics, provide the NTNXLAB\Administrator credentials and click Enable.