Calm: Projects
Overview
Note
Review What Is Calm before proceeding with the lab to familiarize yourself with the UI and common terminology used in Nutanix Calm.
Estimated time to complete: 15 MINUTES
In this exercise you will configure a Project to contain your Blueprints and Applications created throughout the Bootcamp.
Creating A Project
Projects are the logical construct that integrate Calm with Nutanix’s native Self-Service Portal (SSP) capabilities, allowing an administrator to assign both infrastructure resources and the roles/permissions of Active Directory users/groups to specific Blueprints and Applications. By using different projects assigned to different clusters and users, administrators can ensure that workloads are deployed the right way each time. For example, a developer can be a Project Admin for a dev/test project, so they have full control to deploy to their development clusters or to a cloud, while having Read Only access to production projects, allowing them access to logs but no ability to alter production workloads.
Configure users, cluster and network to use
Within the Calm UI, Select
 Projects from the sidebar.
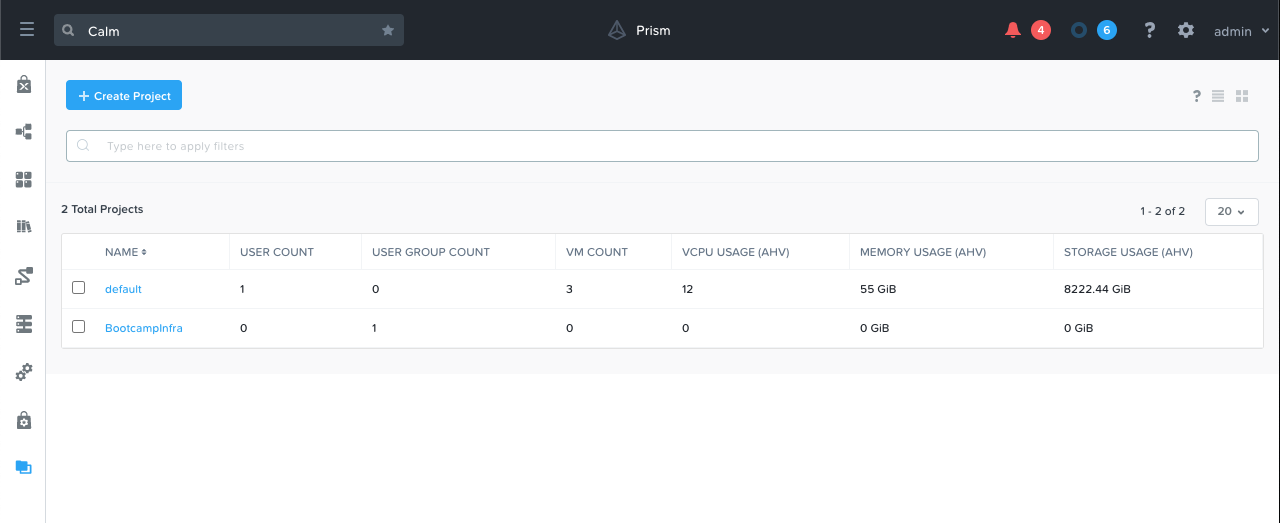
Click + Create Project
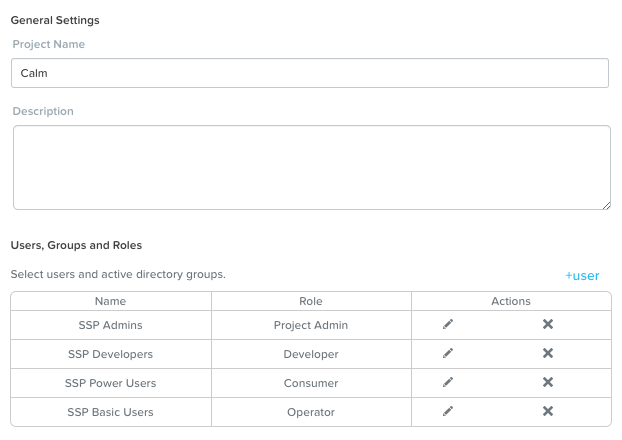
Fill out the following fields:
Project Name - initials-Calm
Description - initials-Calm
Under Users, Groups, and Roles, click + User.
Fill out the following fields and click Save:
Name - SSP Admins
Role - Project Admin
Click + User, fill out the following fields and click Save:
Name - SSP Developers
Role - Developer
Click + User, fill out the following fields and click Save:
Name - SSP Power Users
Role - Consumer
Click + User, fill out the following fields and click Save:
Name - SSP Basic Users
Role - Operator
Note
Click here to view the complete matrix of default SSP roles and associated permissions.
Under Infrastructure, click the blue Select Provider button, and then Nutanix.
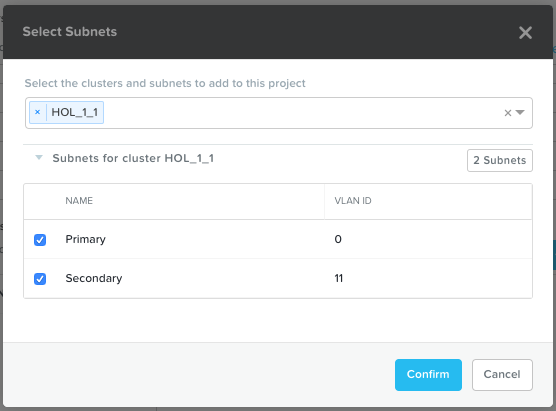
In the box that appears, click the white Select Clusters & Subnets button, and in the pop-up, select your AHV cluster. Once your cluster is selected, choose the Primary network, and if available, the Secondary network, and click Confirm.
Within the Selected Subnets table, select for the Primary network to make it the default virtual network for VMs in the Calm project.
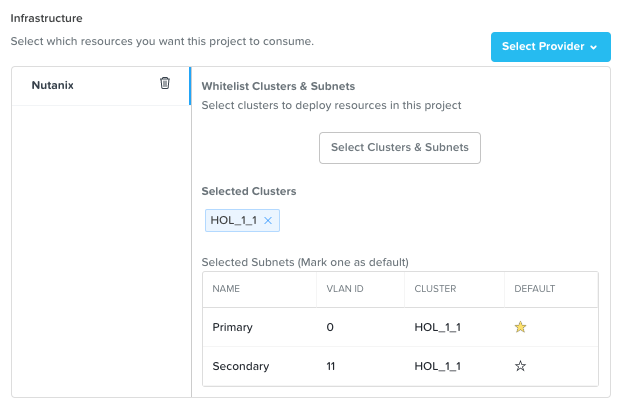
Click Save & Configure Environment.
Configure Environment
Now that we have set the users, their roles, which cluster and networks to use, we need to tell the project about the environment. In this part of the project we tell Calm the following per O/S.
VM Name using Calm macros
VM Resources (CPU, Cores per vCPU, Memory)
Guest customization (CloudInit or Sysprep)
Disks configuration
Boot configuration
vGPU use
Network adapters
Need of a serial port
Connection configuration including general credentials
Note
These parameters are set as DEFAULT parameters. Meaning you can change them in the Blueprints you are going to create and deploy.
As we are mostly using the Linux O/S in this workshop we are just configuring these parameters.
In the Enviroment part we’re assigning the parameters needed for Calm to be able to deploy VMs
In the VM Configuration area, provide the vCPU, Cores per vCPU and the Memory (GiB) fields with the value of 1
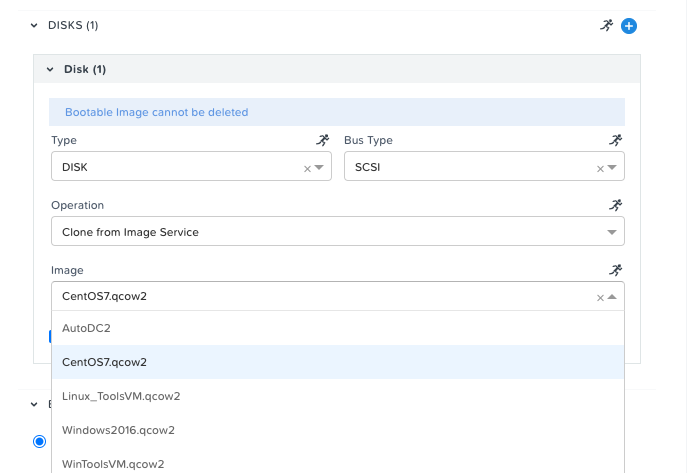
Under DISKS (1) Select the CentOS7.qcow2 under the Image field. Leave the other options in this area of the configuration.
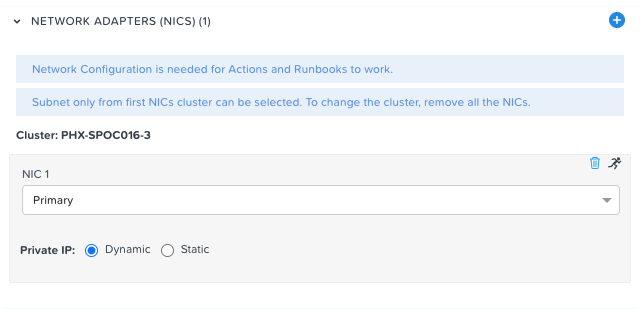
Under NETWORK ADAPTERS (NICS)(1) Select your Cluster name and Primary as the network. Make sure you have the Private IP set as Dynamic.
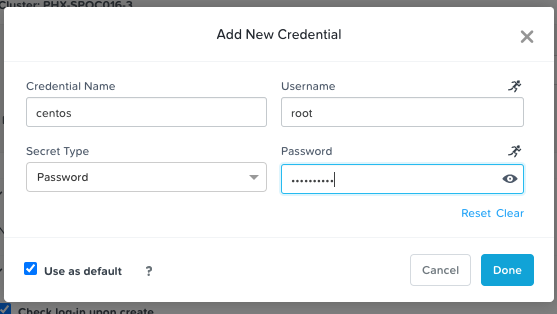
At the CONNECTION area, click on the Credential and select Add New Credential. As we are using in the Blueprints new setting, we still need to provide them to the Project.
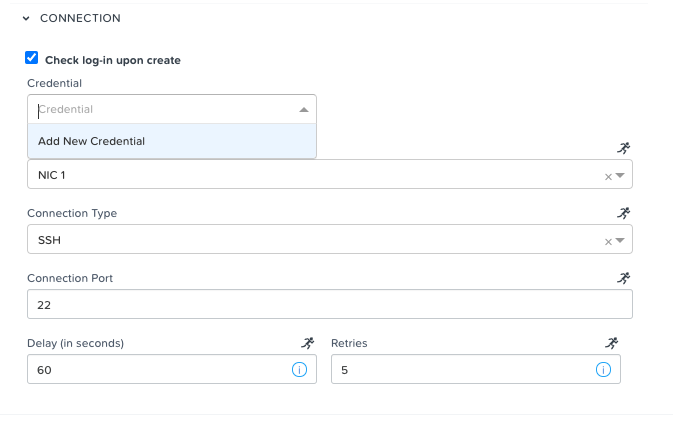
In the new screen use root as the user and nutanix/4u as the password.
Click Save to save the project.
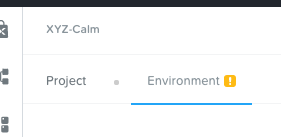
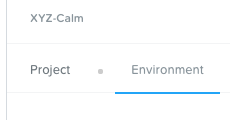
After a few seconds, the system saves the project and configure itself so it can use the configuration, you should see that the Exclamation mark behind Environment should not be shown as we had before (see step 1).
Proceed to the next module of this workshop. The environment preparations have been completed.
Takeaways
Nutanix Calm is a fully integrated component of the Nutanix stack. Easily enabled, highly available out of the box in a Scale Out Prism Central deployment, and takes advantage of non-disruptive One Click upgrades for new features and fixes.
By using different projects assigned to different clusters and users, administrators can ensure that workloads are deployed the right way each time. For example, a developer can be a Project Admin for a dev/test project, so they have full control to deploy to their development clusters or to a cloud, while having Read Only access to production projects, allowing them access to logs but no ability to alter production workloads.