Karbon: Creating a Kubernetes Cluster
Overview
Before we can deploy an application using kubernetes we need to create a Kubernetes cluster.
The cluster that we are going to create consists out of the following VMs:
1 Master node (VM)
3 Worker node (VMs)
3 etcd nodes (VMs)
Note
For more information on the terms master, worker and etcd, please look at https://kubernetes.io/docs/concepts/.
Create a Karbon Kubernetes Cluster
In this exercise you will create a production ready Kubernetes cluster with Nutanix Karbon.
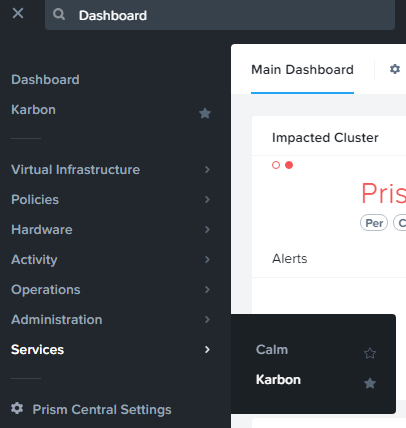
Navigate to Prism Central > Select the Three Dashes > Karbon and ensure you see a ‘Karbon is successfully enabled’ notification.
Click the link to open the Karbon Console.
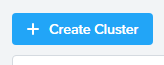
Next click + Create Cluster.
Fill in the following:
Name and Environment
Name - wordpress-initialsLowerCase
Cluster - Leave Default selected
Kubernetes Version - 1.10.3
Host OS Image - centos
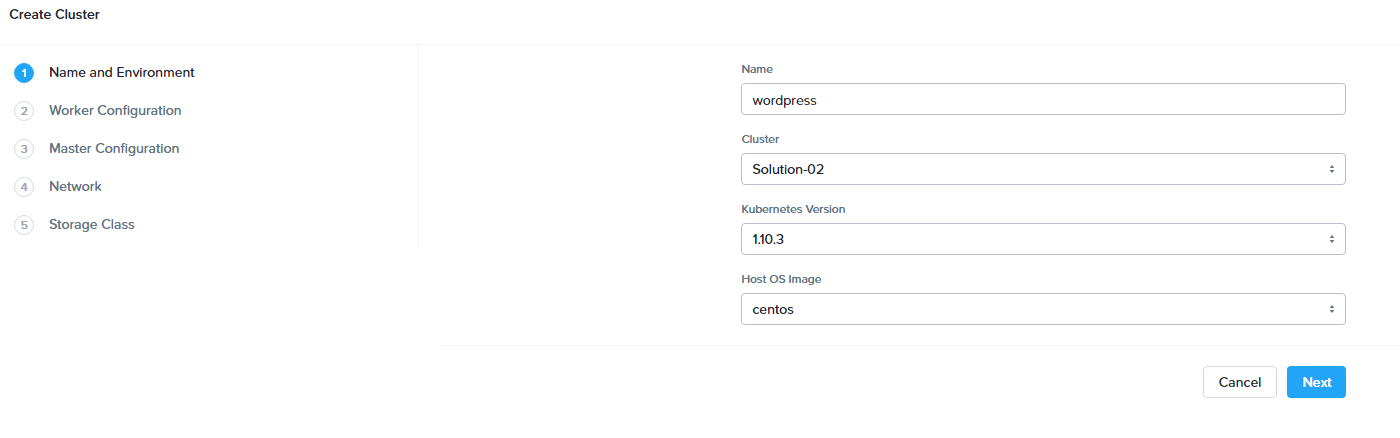
Click Next
Worker Configuration
Note
This defines the number of worker nodes that will run the Kubernetes pods.
Leave all defaults
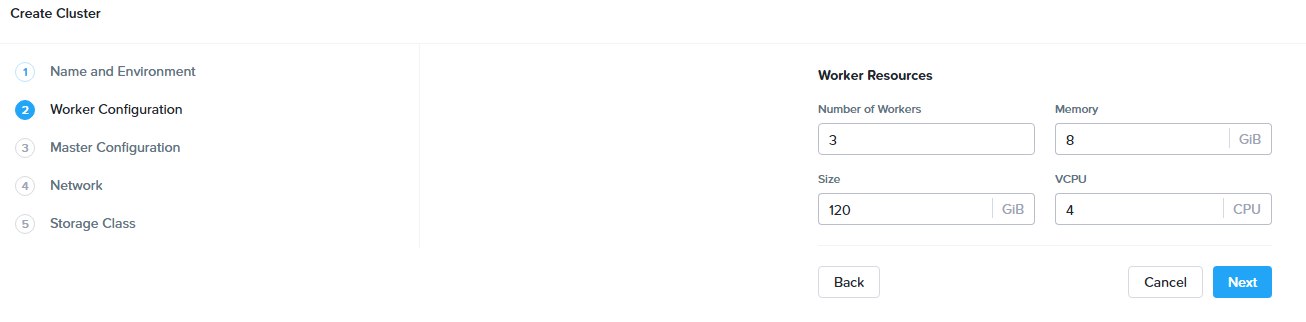
Click Next.
Master Configuration
Note
This defines the number of master nodes that controls the Kubernetes cluster, and the number of etcd VMs, which manages the cluster state.
Leave all defaults.
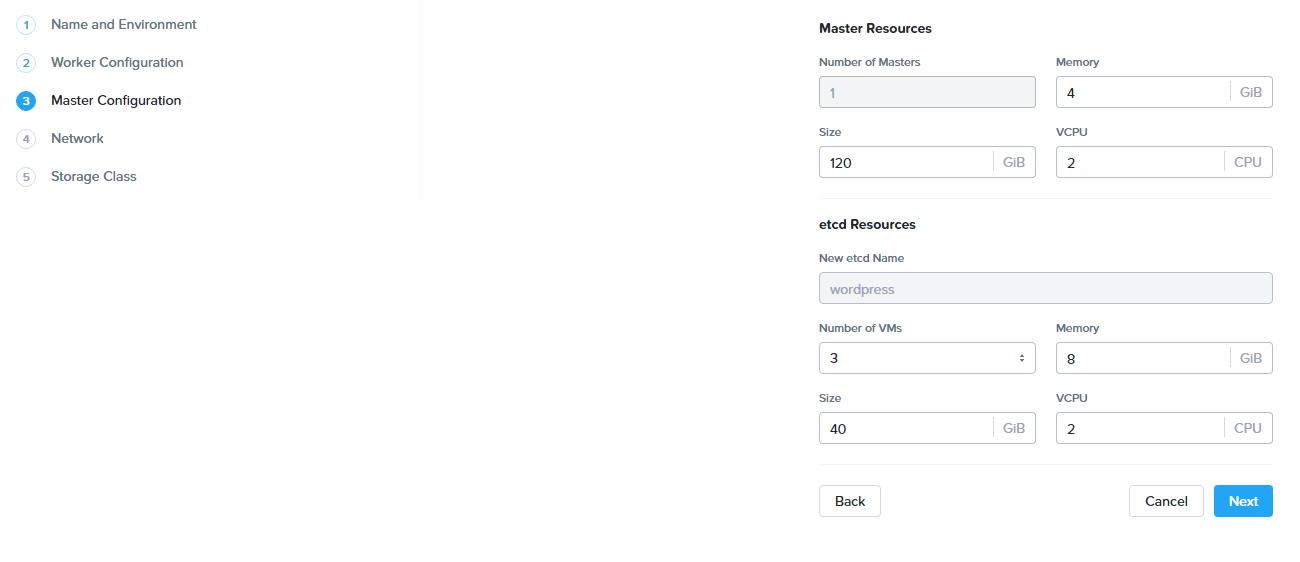
click Next.
Network
Note
We use flannel as the network provider. More information on Flannel can be found here: https://github.com/coreos/flannel#flannel
Network Provider - Flannel
VM Network - Primary
Service CIDR - Leave the default of 172.19.0.0/16
Pod CIDR - Leave the default of 172.20.0.0/16
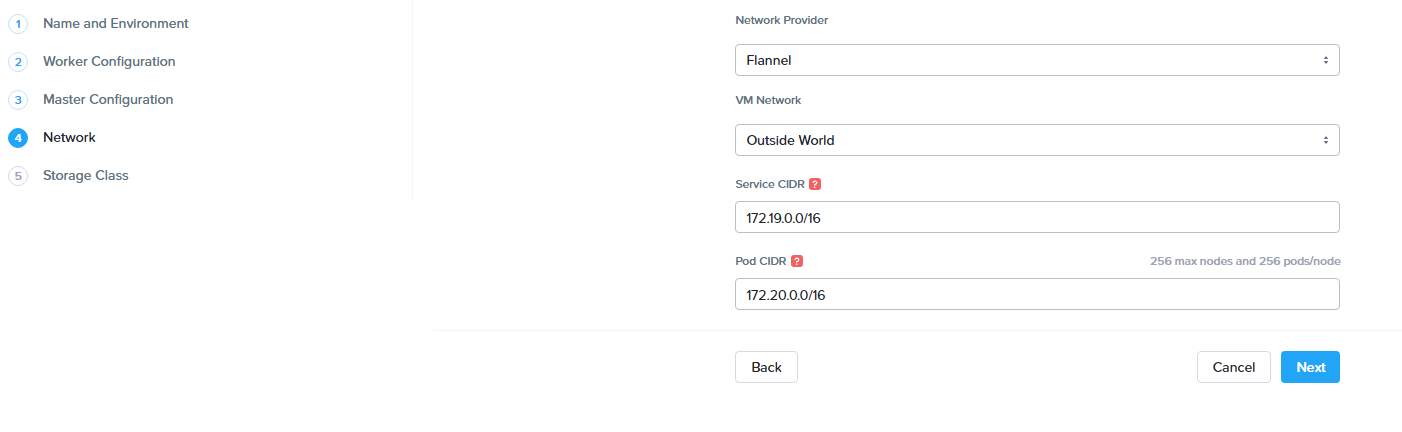
Click Next
Storage Class
Storage Class Name - default-storageclass-initialsLowerCase
Prism Element Cluster - Leave default selected
Cluster Username - admin
Cluster Password - HPOC Password
Storage Container Name - default-container-XXXXXXX
File System - ext4
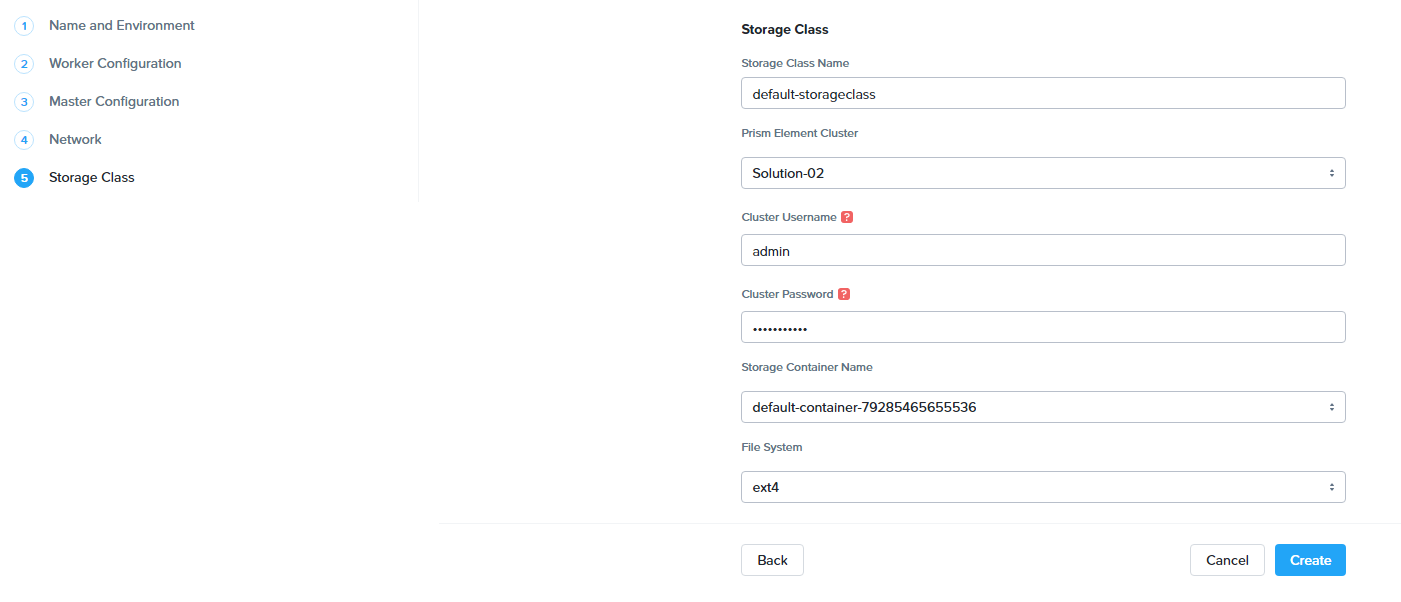
Click Create
Note
Wait until the cluster has been created before proceeding

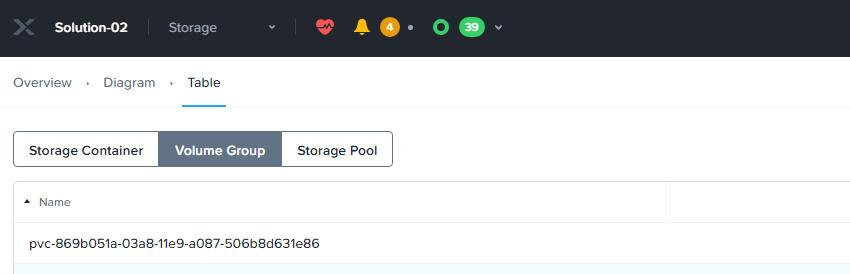
During the creation of the Kubernetes cluster there will have been created:
VMs

Persistent Storage as VolumeGroup

Cluster properties
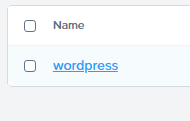
In the Karbon UI, click on your cluster “wordpress-initialsLowerCase”
This will take you to the Summary page for your cluster.
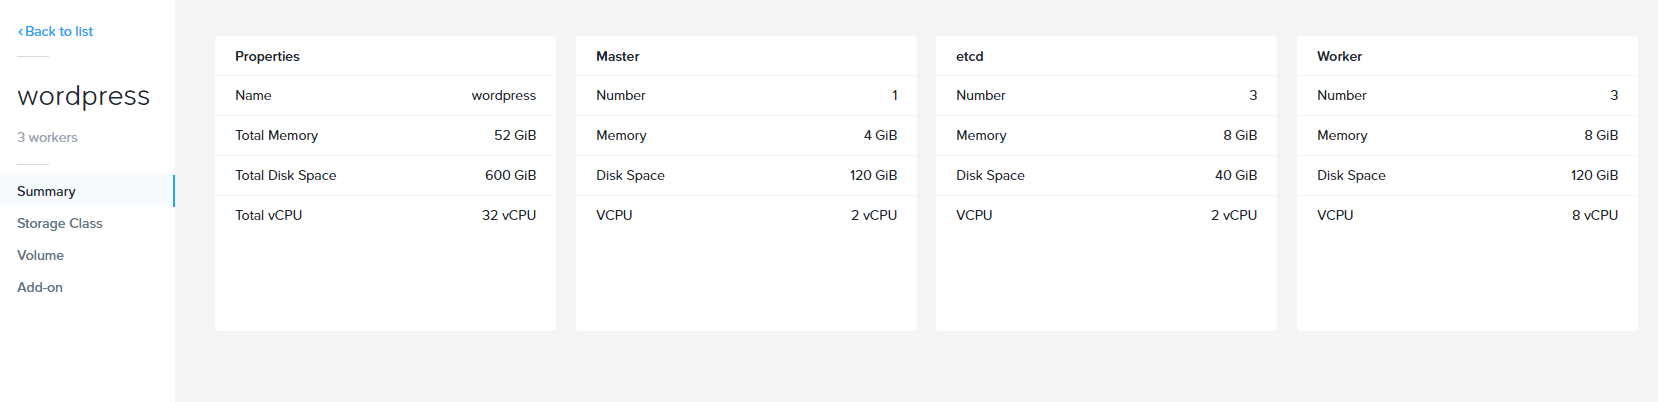
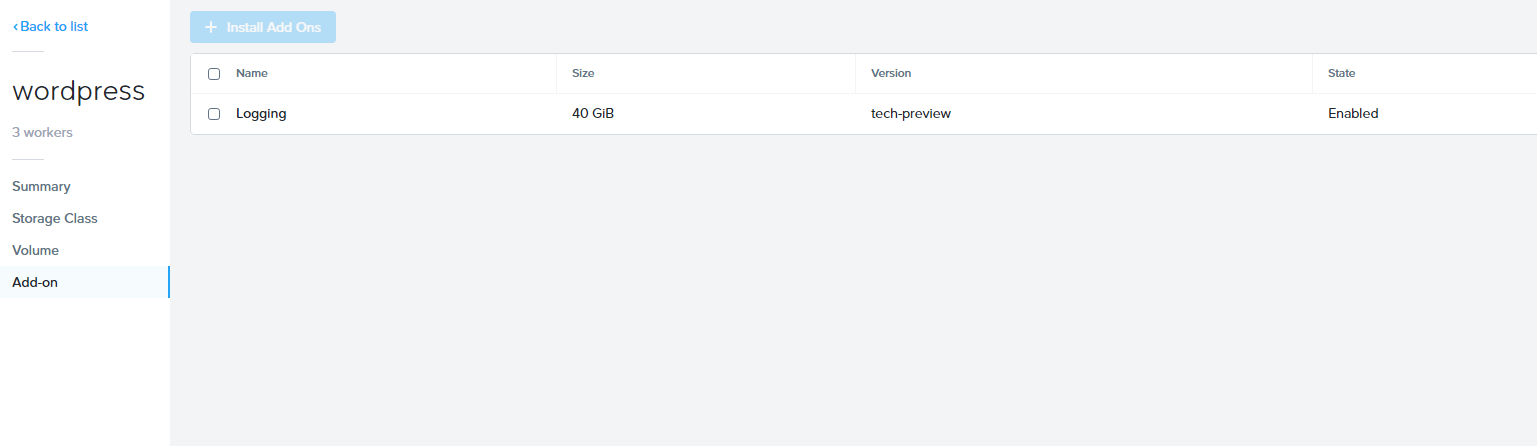
You can also click into the following to see specific information:
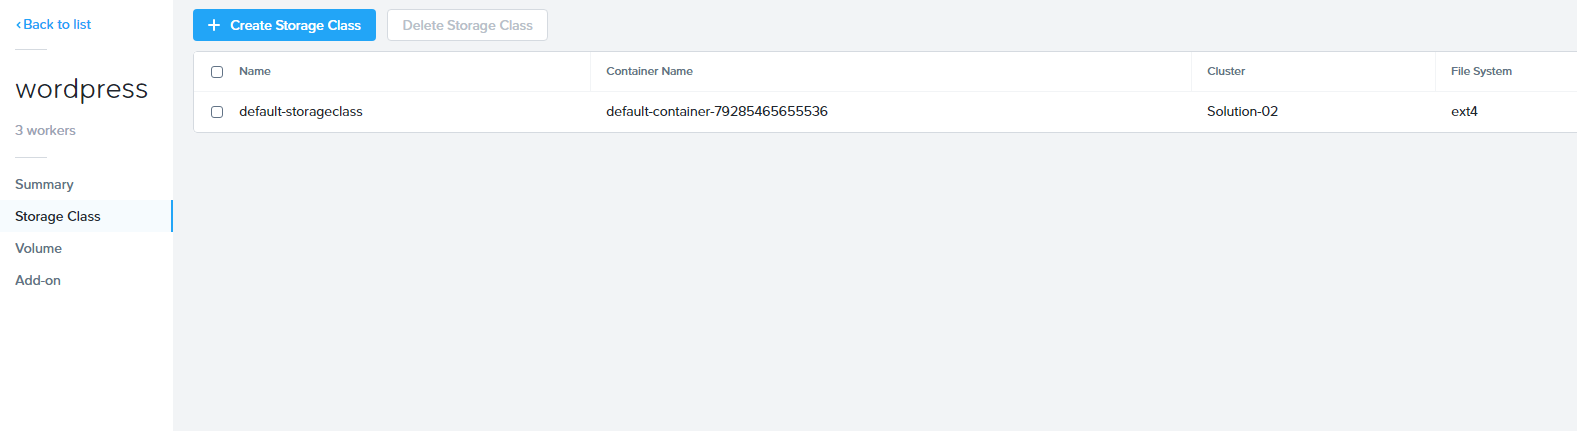
Storage Classes
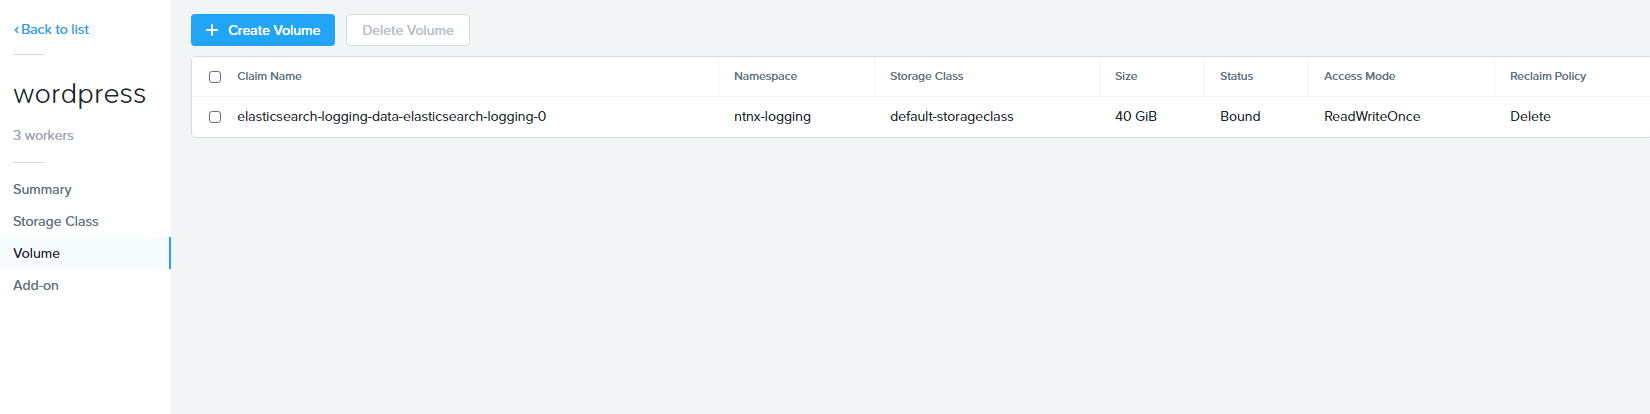
Volume’s
Add-on’s
You now have a running Kubernetes Cluster called “wordpress-initialsLowerCase”.
Takeaways
Nutanix Karbon makes it very easy to create and manage kubernetes clusters