Setup Splunk
Overview
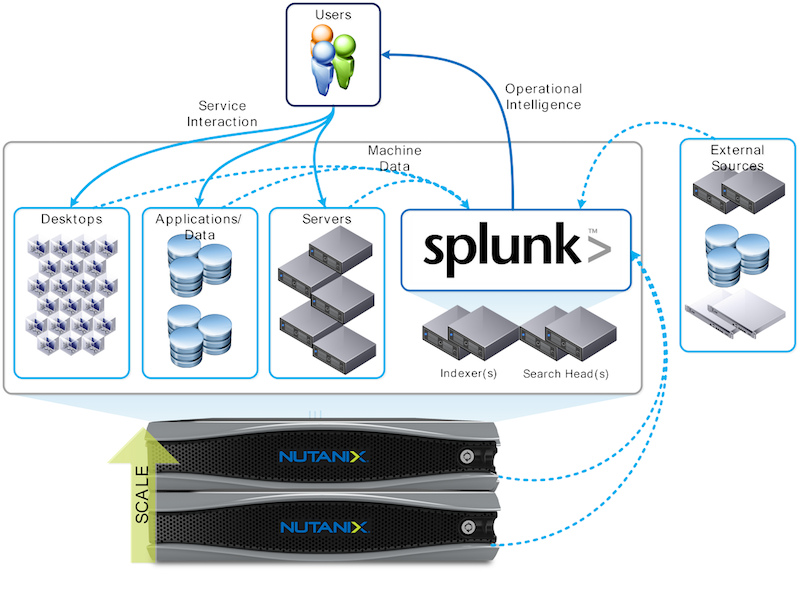
Now that we’ve configured our Nutanix Objects storage for use by Splunk, we need to deploy Splunk on our Nutanix cluster. The Nutanix platform operates and scales Splunk along with other hosted services, providing a single scalable infrastructure for all deployments. Existing sources can send machine data to the Splunk environment on Nutanix over the network. The following figure shows a high-level view of the Splunk on Nutanix solution.
Install Splunk
Now let’s set up a Splunk virtual machine to connect to Objects.
In Prism Central > select > Virtual Infrastructure > VMs.
Fill out the following fields and click Save.
Leave other settings at their default values.
Name - Initials-Splunk_VM
Description - (Optional) Description for your VM.
vCPU(s) - 2
Number of Cores per vCPU - 1
Memory - 8 GiB
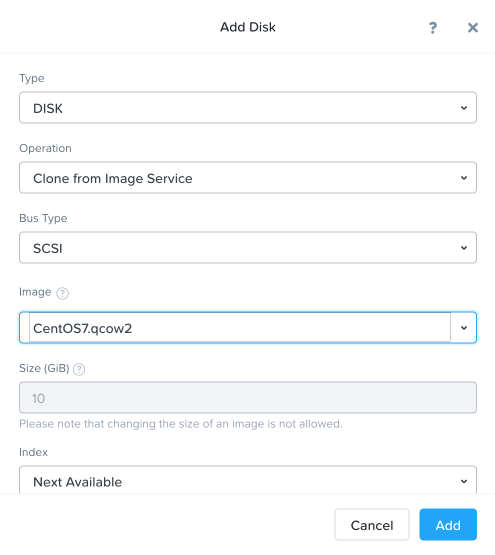
Select + Add New Disk - Type - DISK - Operation - Clone from Image Service - Image - CentOS7.qcow2 - Select Add
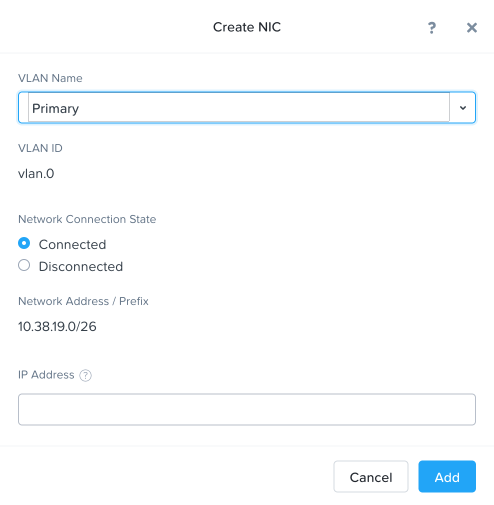
Select Add New NIC - VLAN Name - Primary - Select Add
Click Save to create the VM.
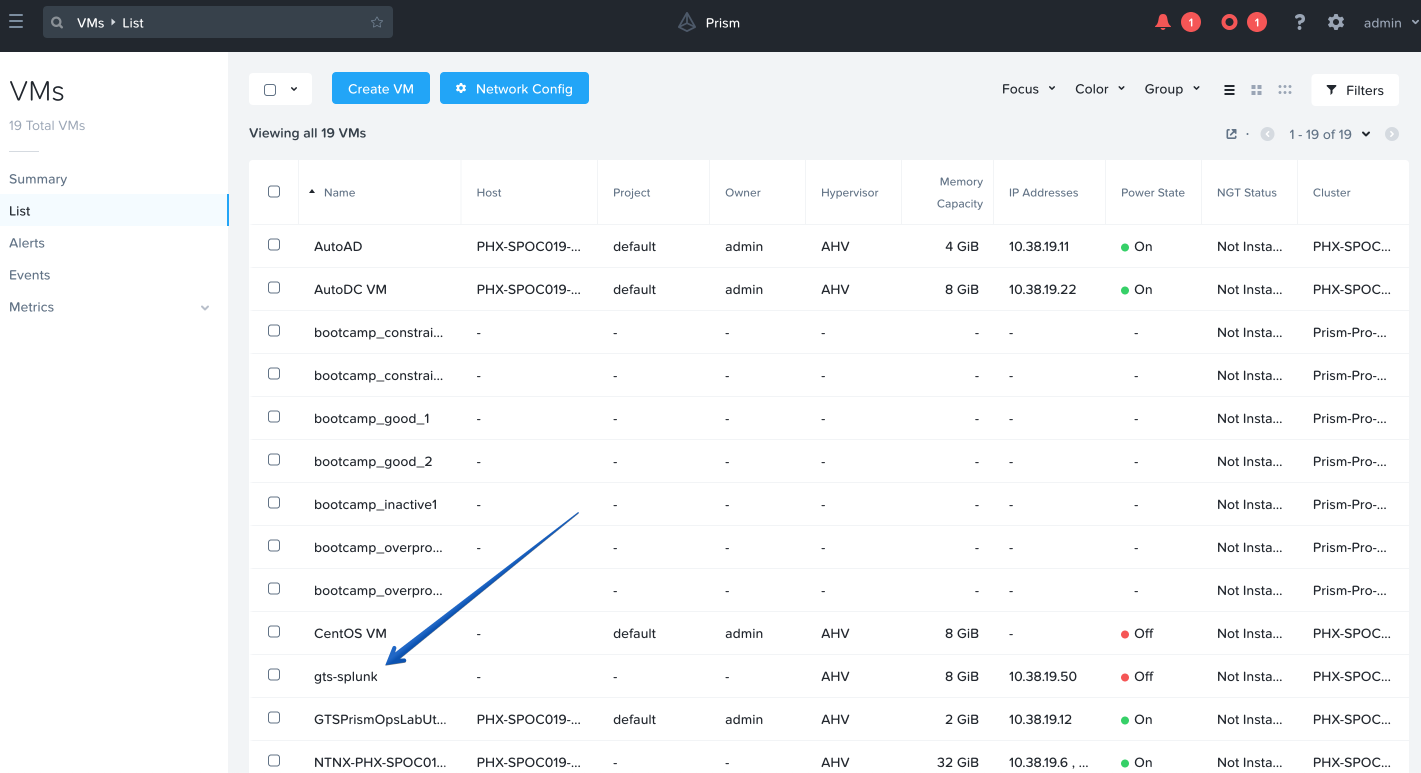
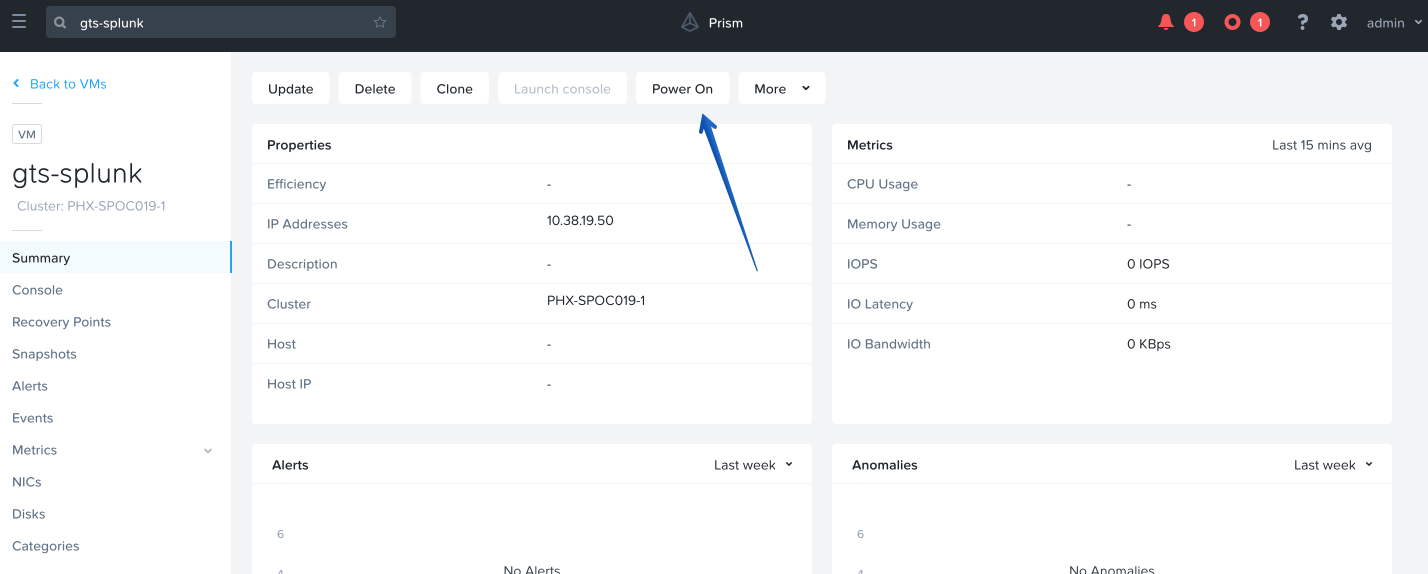
Find your VM in the VM list, then choose it.
Click Power On.
Note
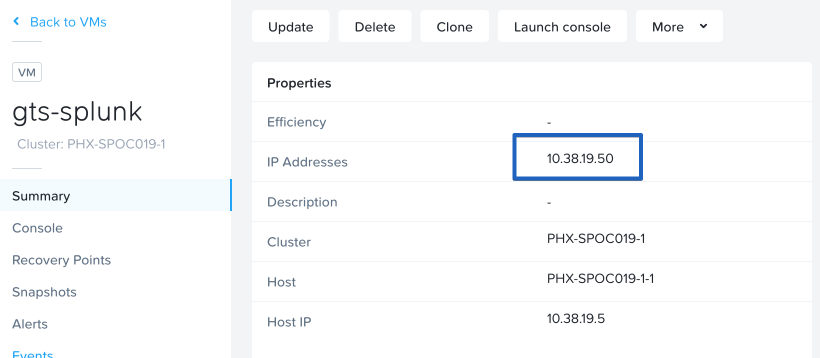
Make a note of the IP Address of the VM.
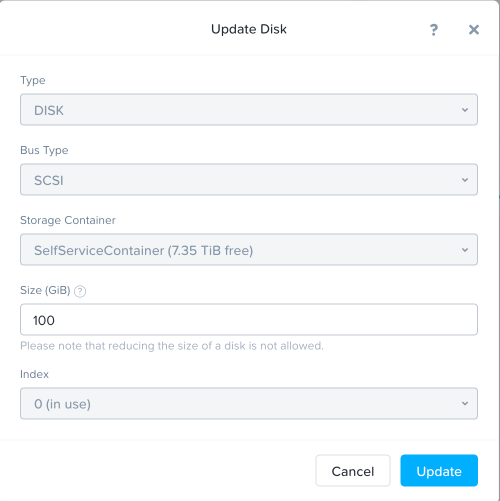
Click Update in the Prism UI for the VM, then modify the vDisk.
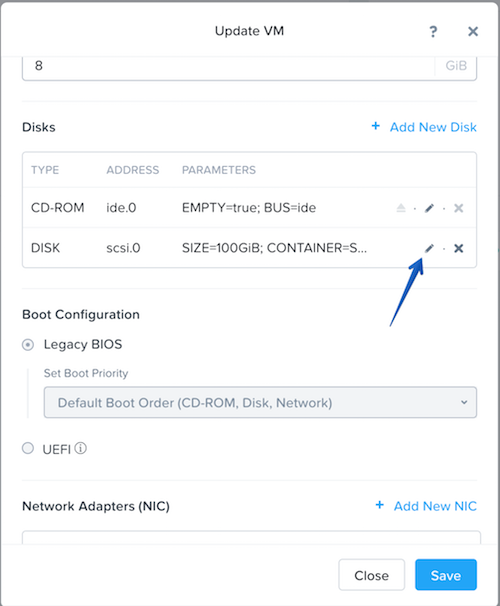
Change the vDisk size to 100GiB and click save.
SSH into the Splunk VM using the following credentials (Putty on Windows, Terminal on Mac):
Username - root
Password - nutanix/4u
ssh root@10.38.19.50
Modify the root partition to take advantage of the extra space.
Note
Please manually type this step, do not copy it in!
fdisk /dev/sda

p # Print table
d # Delete
2 # Deletes second partition, since Partition 1 is /boot
n # New Partition
p # New Primary Partition
2 # New Primary Partition - /dev/sda2
Accept defaults for Start Block and End Block
t # Partition Type
2 # Partition 2
8e # Change partition type to "Linux LVM"
p # Print new partition table
w # Write New Partition Table
Update Kernel Partition Table and Resize Volume
partx -u /dev/sda
pvresize /dev/sda2
lvextend -r centos_centos/root /dev/sda2
Now let’s download the tar files for Splunk and get Splunk installed.
mkdir /opt/splunk
cd /tmp
If your lab cluster is in RTP, use the following command
curl http://10.55.251.38/workshop_staging/Splunk/splunk-8.0.1.tar -o splunk-8.0.1.tar
If your lab cluster is in PHX, use the following command
curl http://10.42.194.11/workshop_staging/Splunk/splunk-8.0.1.tar -o splunk-8.0.1.tar
Now let’s expand what we downloaded, install, and configure Splunk.
tar -xvf splunk-8.0.1.tar
echo '[user_info]' > /tmp/user-seed.conf
echo 'USERNAME = admin' >> /tmp/user-seed.conf
echo 'PASSWORD = nutanix/4u' >> /tmp/user-seed.conf
export SPLUNK_HOME=/opt/splunk
export PATH=$SPLUNK_HOME/bin:$PATH
cp -rp splunk/* /opt/splunk/
mv /tmp/user-seed.conf $SPLUNK_HOME/etc/system/local
echo '[clustering]' >> $SPLUNK_HOME/etc/system/local/server.conf
echo 'mode = master' >> $SPLUNK_HOME/etc/system/local/server.conf
echo 'replication_factor = 1' >> $SPLUNK_HOME/etc/system/local/server.conf
echo 'search_factor = 1' >> $SPLUNK_HOME/etc/system/local/server.conf
echo 'pass4SymmKey = nutanix/4u' >> $SPLUNK_HOME/etc/system/local/server.conf
echo 'cluster_label = cluster1' >> $SPLUNK_HOME/etc/system/local/server.conf
splunk start --answer-yes --no-prompt --accept-license
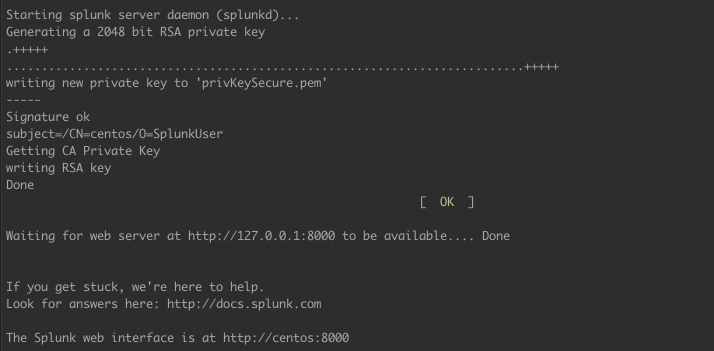
At this point Splunk should be installed and running, but we need to make a small firewall change in order to connect to it.
firewall-cmd --permanent --add-port=8000/tcp
firewall-cmd --reload
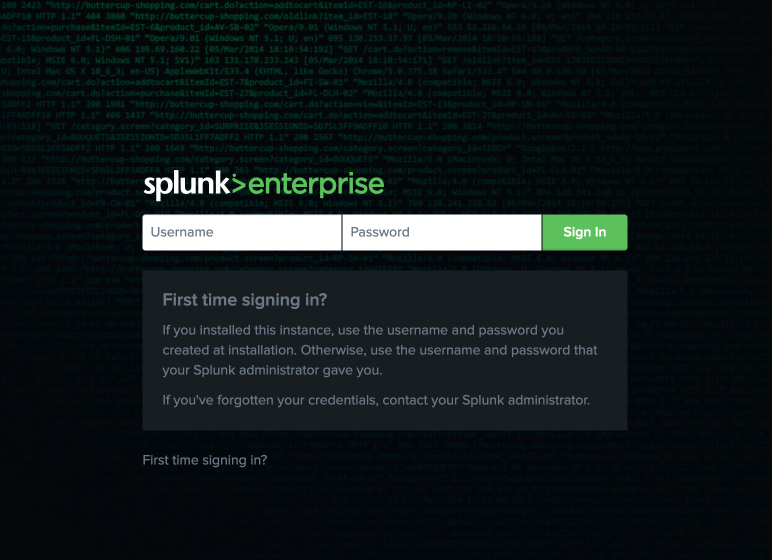
Open your web browser and go to http://<SPLUNK_IP>:8000.
The username and password should be as you set them above:
Username - admin
Password - nutanix/4u
There’s not a lot going on right now, but before we give Splunk something to do, we need to connect it to Nutanix Objects.
Configure SmartStore
Gather the required information:
MYOBJECTSACCESSKEY: You should have this from the IAM Key section above
MYOBJECTSSECRETKEY: You should have this from the IAM Key section above
MYAWESOMEBUCKETHERE: You should have this from the Create Bucket Using IAM User section above
OBJECTSCLIENTIP: You can get this from ☰ Menu > Services > Objects
SSH into the Splunk VM (Putty on Windows, Terminal on Mac)
Username - root
Password - nutanix/4u
ssh root@10.38.19.50
Use vi or nano to edit the following file:
vi /opt/splunk/etc/system/local/indexes.conf
OR
nano /opt/splunk/etc/system/local/indexes.conf
Note
If you’re using vi, ensure to type “i” to enter INSERT mode.
The file contents should look like the below. Ensure to replace any ALL CAPS sections with your relevant details.
[default]
remotePath = volume:remote_store/$_index_name

[volume:remote_store]
storageType = remote
path = s3://MYAWESOMEBUCKETHERE/
remote.s3.access_key = MYOBJECTSACCESSKEY
remote.s3.secret_key = MYOBJECTSSECRETKEY
remote.s3.endpoint = https://OBJECTSCLIENTIP
remote.s3.auth_region = us-east-1
Save the file (Nano: CTRL+O, CTRL+X, or VI: ESC, :wq ENTER ).
Note
We’ll restart Splunk in the next section after installing the Log Generator App.
Install Log Generator App
Now let’s install the log generator app, so we can give Splunk something to consume.
SSH into the Splunk VM (Putty on Windows, Terminal on Mac)
Username - root
Password - nutanix/4u
ssh root@10.38.19.50
Copy down the GoGen files, modified for Nutanix/Splunk.
cd /tmp
curl -LJO http://10.42.194.11/workshop_staging/Splunk/TA-Nutanix.zip -o TA-Nutanix.zip
yum install unzip -y
unzip TA-Nutanix.zip
cp -r gogen-master/splunk_app_gogen /opt/splunk/etc/apps/
Restart Splunk so the new application shows up.
/opt/splunk/bin/splunk restart
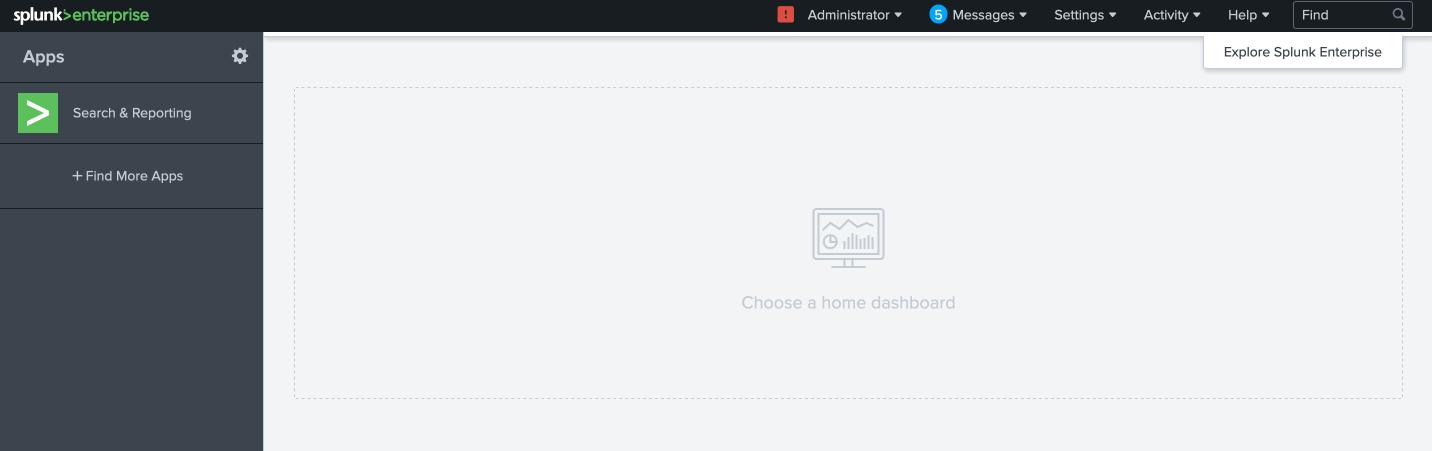
Log back into the Splunk web interface, you’ll see that GoGen is now showing up in the application list.
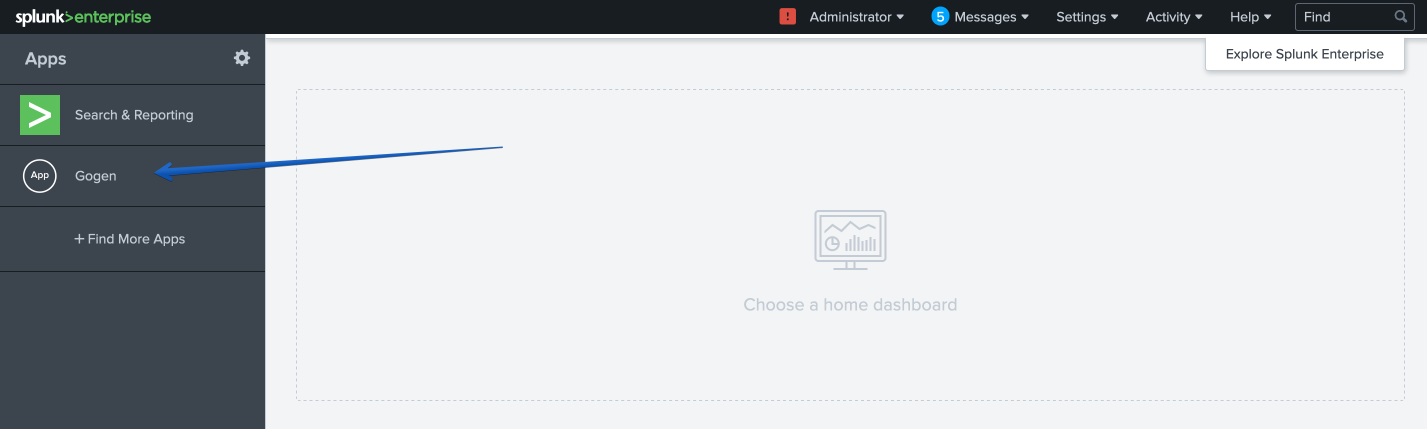
Click on Settings > Data Inputs.
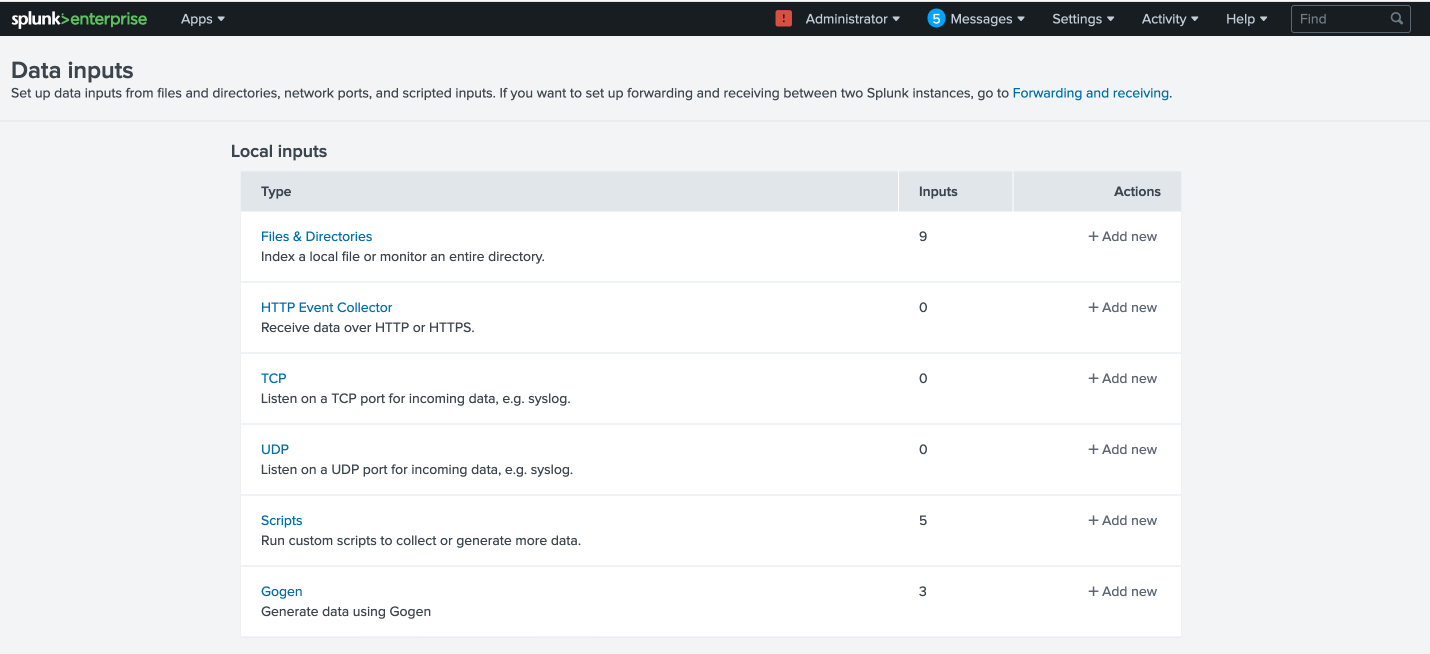
Click on GoGen.
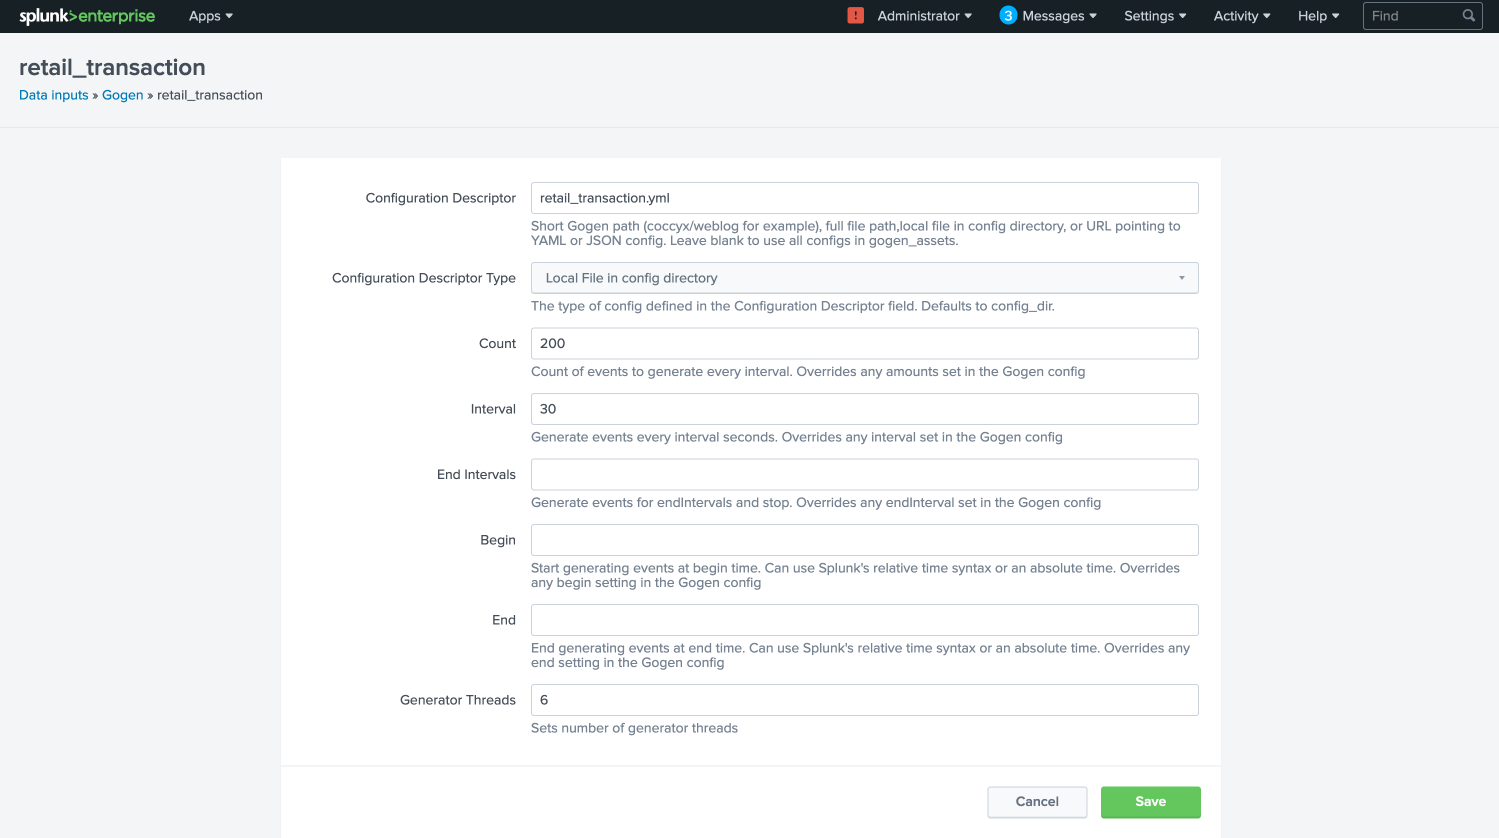
Click on the stanza name: retail_transaction.
Fill in the fields to look like the below image, click save:
Enable retail_transaction.
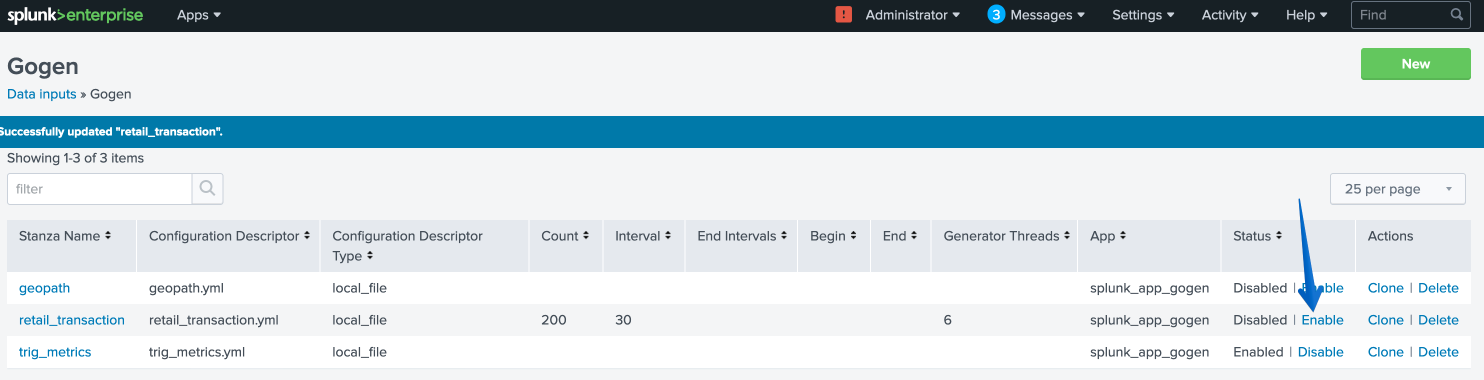
Restart Splunk one more time.
/opt/splunk/bin/splunk restart
Data in Objects
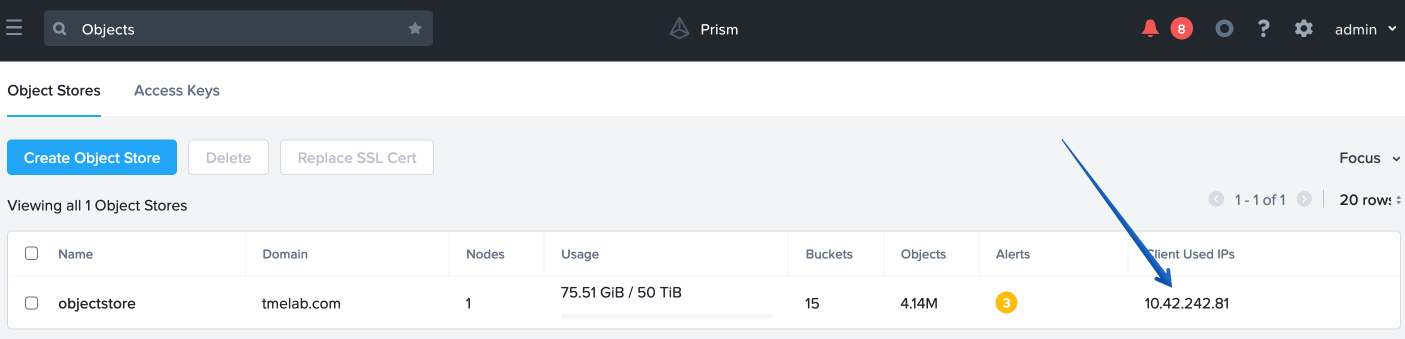
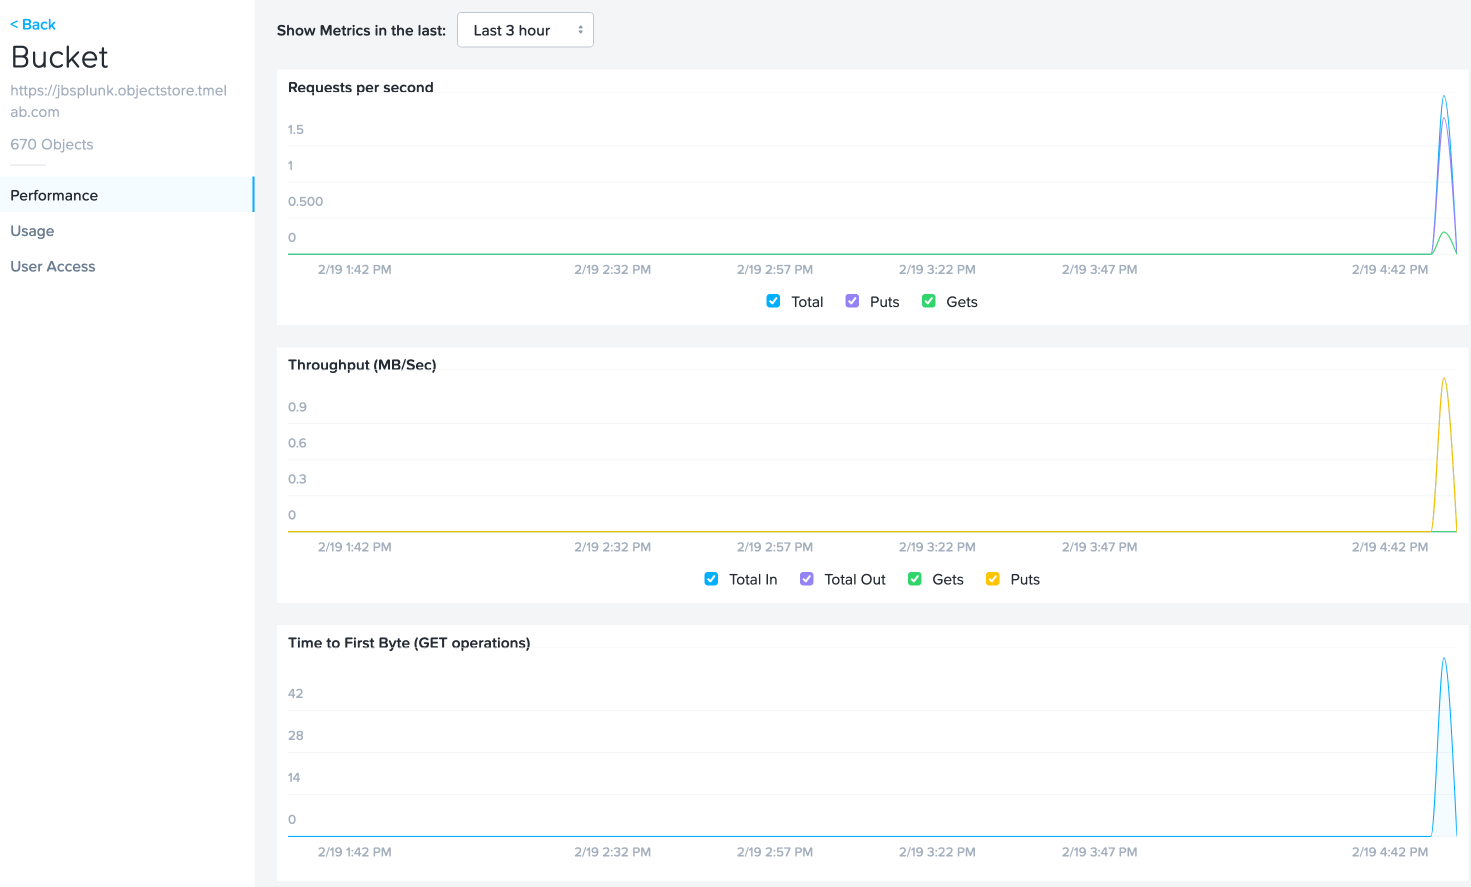
After a little bit of time, you should be able to head over to Objects in PC and see that your bucket is being populated with data.
Note
If after 5 minutes, you’re not seeing this, you can try running the following script from the Splunk server:
splunk _internal call /data/indexes/main/roll-hot-buckets -auth admin:nutanix/4u
You can see in the performance information for my bucket that there have been some Puts and Gets, although the timeline is short for the purposes of this demo, these patterns would continue.
Takeaways
SmartStore is simple to configure with Nutanix Objects