Provision Postgres DB
Overview
The initial release of Era supports the following Operating Systems and Database Servers:
CentOS 6.9, 7.2, and 7.3
Oracle Linux 7.3
RHEL 6.9, 7.2, and 7.3
Windows Server 2012, Windows Server 2012 R2, and Windows Server 2016
Oracle 11.2.0.4.x, 12.1.0.2.x, and 12.2.0.1.x
PostgreSQL 9.x and 10.x
SQL Server 2008 R2, SQL Server 2012, SQL Server 2014, SQL Server 2016, and SQL Server 2017
Era can be used to provision database servers and databases on the registered Nutanix cluster, or you can register an existing source database running on the cluster. In this lab, you will provision a new PostgreSQL database server and database.
Note
Estimated time to complete: 30 MINUTES
This lab will show you how to provision, connect, and view a Postgres Database.
Exploring Era Resources
Era is distributed as a virtual appliance that can be installed on either AHV or ESXi. For the purposes of conserving memory resources, a shared Era server has already been deployed on your cluster.
Note
If you’re interested, instructions for the brief installation of the Era appliance can be found here.
In Prism Central > VMs > List, identify the IP address assigned to the EraServer-* VM using the IP Addresses column.
Open https://ERA-VM-IP:8443/ in a new browser tab.
Login using the following credentials:
Username - admin
Password - nutanix/4u
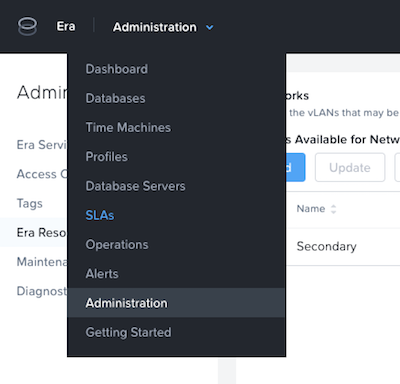
From the Dashboard dropdown, select Administration.
Under Cluster Details, note that Era has already been configured for your assigned cluster.
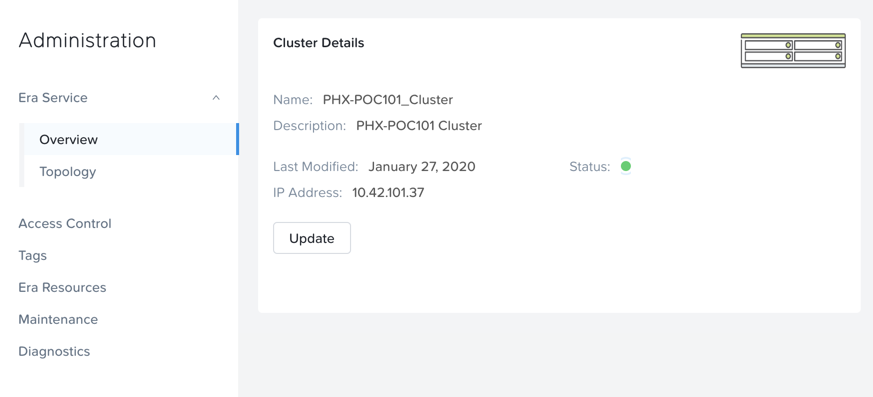
Select Era Resources from the left-hand menu.
In Era, select Profiles from the dropdown menu and Software from the lefthand menu.
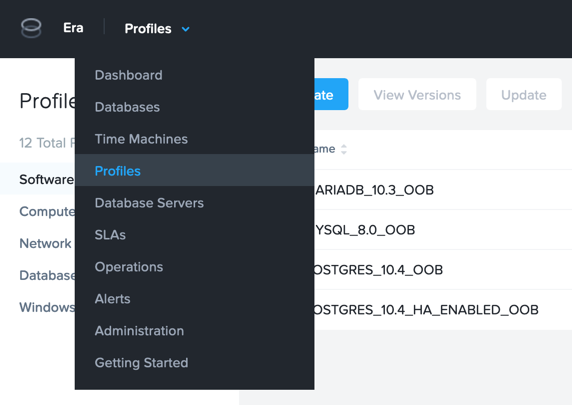
Note there are included profiles for PostgreSQL 10.4 and MariaDB 10.3 shipped with Era.
Additional PostgreSQL, MariaDB, SQL Server, and Oracle profiles can be created by registering database server VMs with Era.
Select Compute > DEFAULT_OOB_COMPUTE and note the default Compute Profile creates a 4 core, 32GiB RAM VM to host the database. To reduce memory consumption in the shared lab environment, you will create a custom Compute Profile.
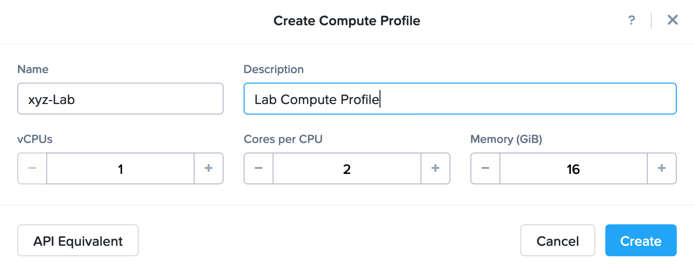
Click + Create and fill out the following fields:
Name - Initials-Lab
Description - Lab Compute Profile
vCPUs - 1
Cores per CPU - 2
Memory (GiB) - 16
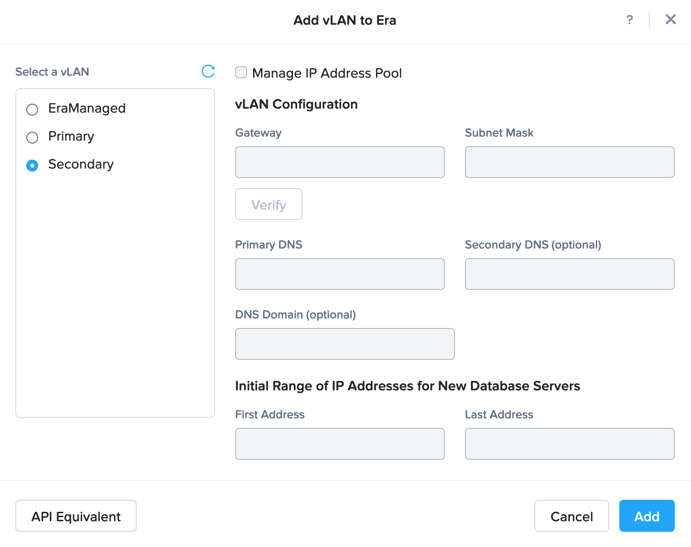
Review the configured Networks. If no Networks show under VLANs Available for Network Profiles, click Add. Select Secondary VLAN and click Add.
Note
Leave Manage IP Address Pool unchecked, as we will be leveraging the cluster’s IPAM to manage addresses
From the dropdown menu, select SLAs.
Era has five built-in SLAs (Gold, Silver, Bronze, Zero, and Brass). SLAs control how the database server is backed up. This can be with a combination of Continuous Protection, Daily, Weekly Monthly and Quarterly protection intervals.
From the dropdown menu, select Profiles.
Profiles pre-define resources and configurations, making it simple to consistently provision environments and reduce configuration sprawl. For example, Compute Profiles specifiy the size of the database server, including details such as vCPUs, cores per vCPU, and memory.
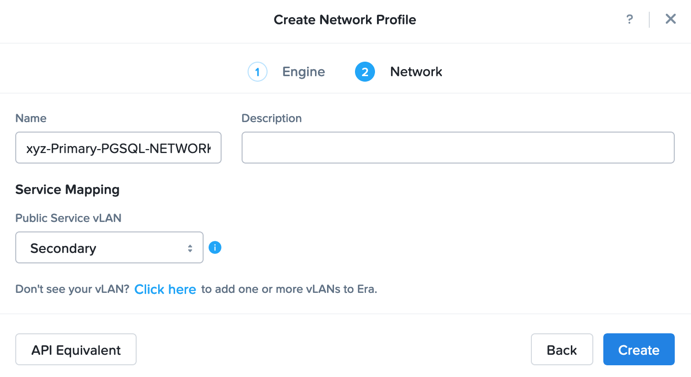
If you do not see any networks defined under Network, click + Create.

Fill out the following fields and click Create:
Engine - PostgreSQL
Name - Primary-PGSQL-NETWORK
Public Service VLAN - Secondary
Provisioning a PostgreSQL Database
You’ve completed all the one time operations required to be able to provision any number of DB Server VMs. Follow the steps below to provision a database of a fresh database server, with best practices automatically applied by Era.
In Era, select Databases from the dropdown menu and Sources from the lefthand menu.
Click + Provision > Single Node Database.
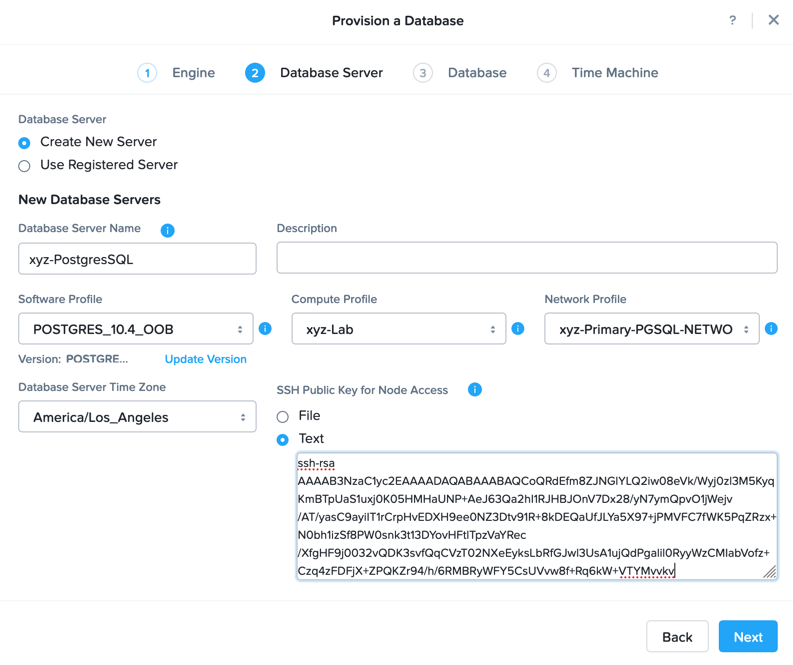
In the Provision a Database wizard, fill out the following fields to configure the Database Server:
Engine - PostgresSQL
Database Server - Select Create New Server
Database Server Name - Initials-PostgresSQL
Description - (Optional)
Software Profile - POSTGRES_10.4_OOB
Compute Profile - Initials-Lab
Network Profile - Primary-PGSQL-NETWORK
Database Time Zone - America/Los_Angeles
SSH Public Key for Node Access - Select Text
ssh-rsa AAAAB3NzaC1yc2EAAAADAQABAAABAQCoQRdEfm8ZJNGlYLQ2iw08eVk/Wyj0zl3M5KyqKmBTpUaS1uxj0K05HMHaUNP+AeJ63Qa2hI1RJHBJOnV7Dx28/yN7ymQpvO1jWejv/AT/yasC9ayiIT1rCrpHvEDXH9ee0NZ3Dtv91R+8kDEQaUfJLYa5X97+jPMVFC7fWK5PqZRzx+N0bh1izSf8PW0snk3t13DYovHFtlTpzVaYRec/XfgHF9j0032vQDK3svfQqCVzT02NXeEyksLbRfGJwl3UsA1ujQdPgalil0RyyWzCMIabVofz+Czq4zFDFjX+ZPQKZr94/h/6RMBRyWFY5CsUVvw8f+Rq6kW+VTYMvvkv
Note
The above SSH public key is provided as an example and is configured as an authorized key for the operating system provisioned by Era. In a non-lab setting you would create your own SSH private/public keypair and provide the public key during this step.
Click Next.
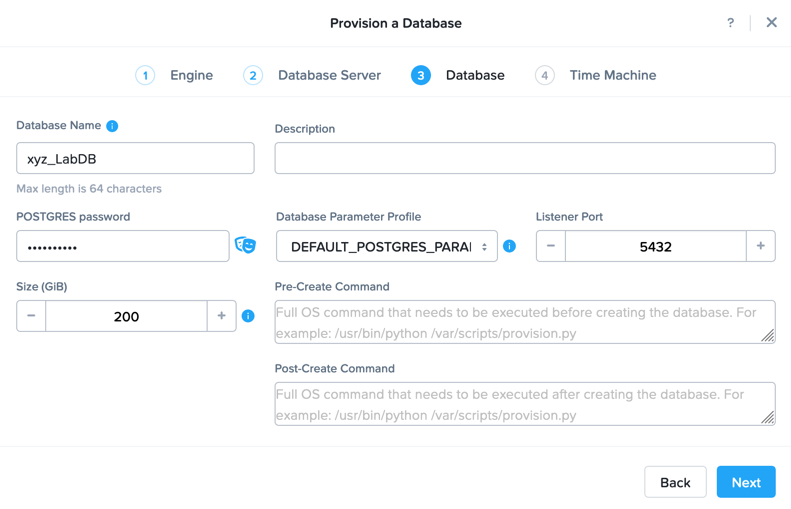
Fill out the following Database fields:
Database Name - Initials_LabDB
Description - (Optional) Description
POSTGRES Password - nutanix/4u
Database Parameter Profile - DEFAULT_POSTGRES_PARAMS
Listener Port - 5432
Size (GiB) - 200
Note
Era also offers to ability to run scripts or commands both before and after database creation . These can be used to further customize an environment based on specific enterprise needs.
Click Next.
Fill out the following Time Machine fields:
Name - Initials_LabDB_tm
Description - (Optional) Description
SLA - DEFAULT_OOB_GOLD_SLA
Schedule - Default
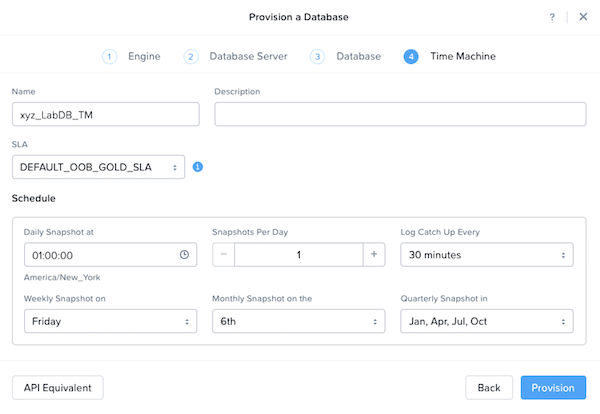
Click Provision.
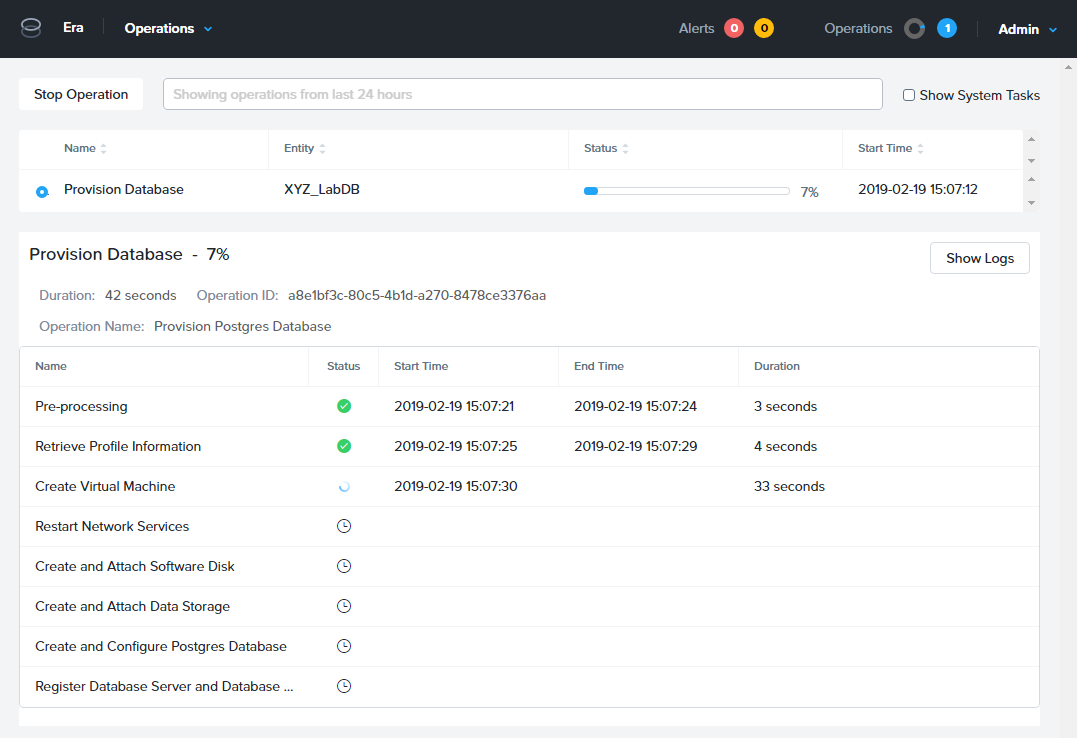
Select Operations from the dropdown menu to monitor the provisioning. This process should take approximately 5 minutes.
Note
All operations within Era have unique IDs are fully visible for logging/auditing.
Upon completion, select Dashboard from the drop down menu and note your new Source Database.
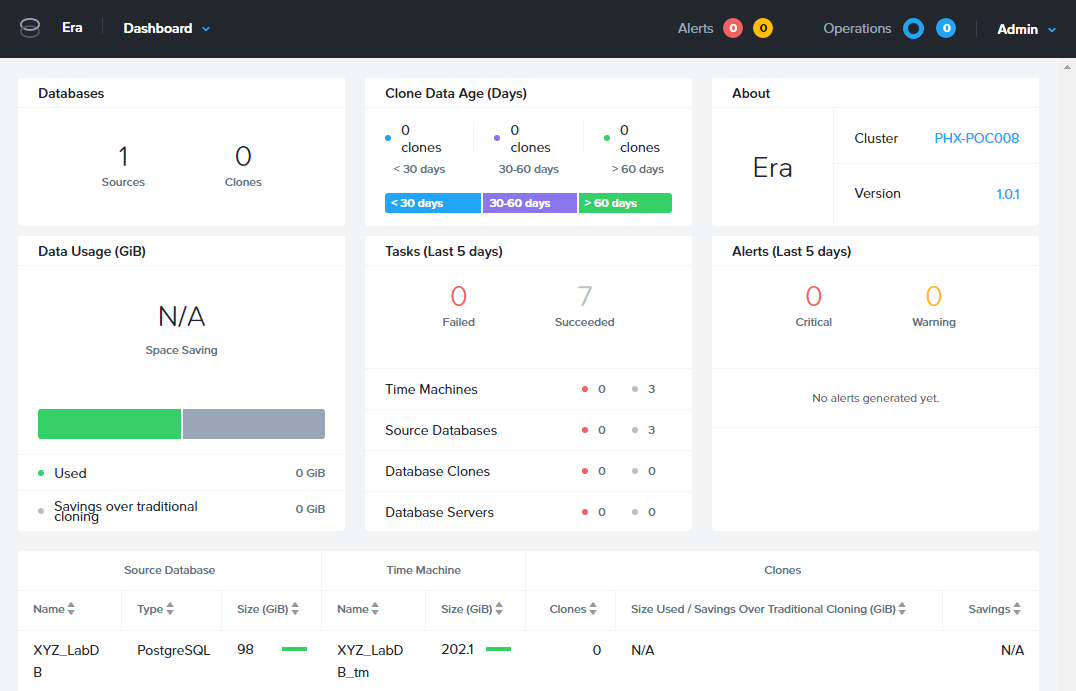
You should also be able to see the Initials-PostgresSQL VM running within Prism.
Connecting to the Database
Now that Era has successfully provisioned a database instance, you will connect to the instance and verify the database was created.
In Era, select Databases from the drop down menu.
Under Sources, click the name of your database.
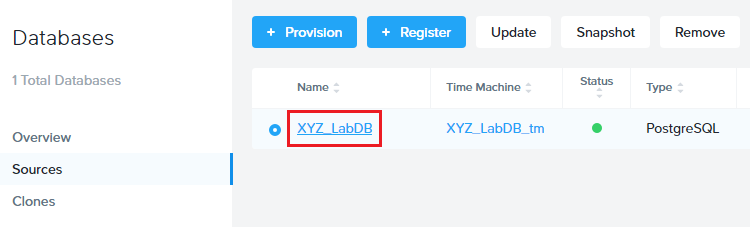
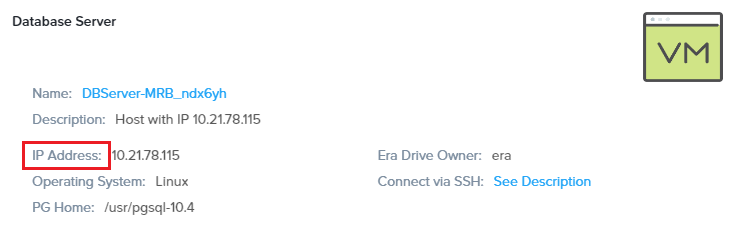
Note the IP Address of your Database Server.
Using Initials-WinToolsVM, open pgAdmin.
Note
If installed, you can also use a local instance of pgAdmin. The Tools VM is provided to ensure a consistent experience.
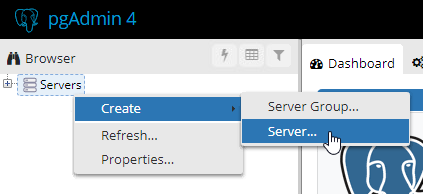
Under Browser, right-click Servers and select Create > Server….
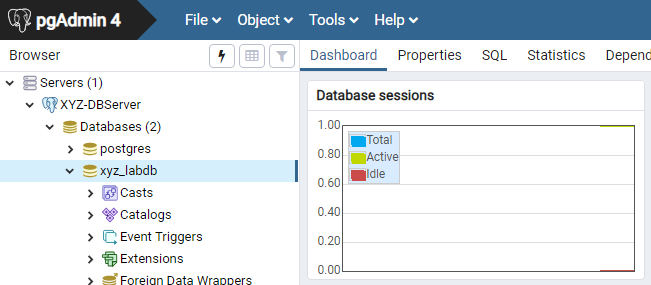
On the General tab, provide your database server name (e.g. Initials-DBServer).
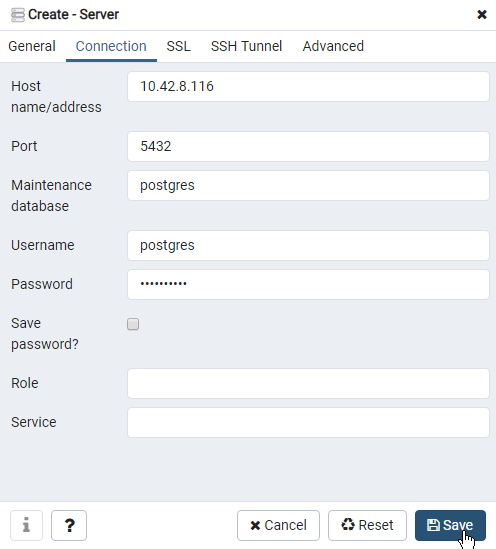
On the Connection tab, fill out the following fields:
Hostname/IP Address - Initials-PostgresSQL
Port - 5432
Maintenance Database - postgres
Username - postgres
Password - nutanix/4u
Expand Initials-DBServer > Databases and note an empty database has been created by Era.