API: Create VM
Overview
In the following exercise, you will create a VM using Nutanix v3 APIs. The VM will be created in a powered off state with no disks attached.
Note
Estimated time to complete: 20 MINUTES
Exercise: Create your own VM
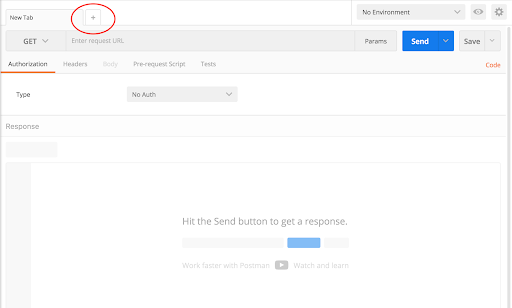
Click + in the main window to create a new tab-window
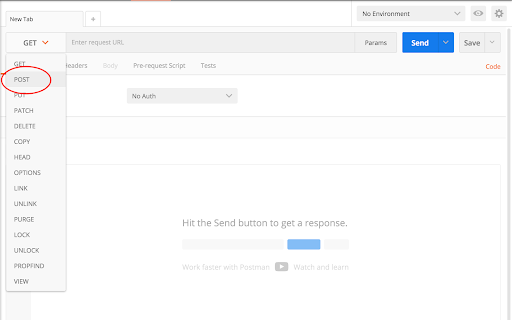
Click the dropdown and select POST
v3 is RESTful and uses standard HTTP verbs like GET, POST, PUT, DELETE
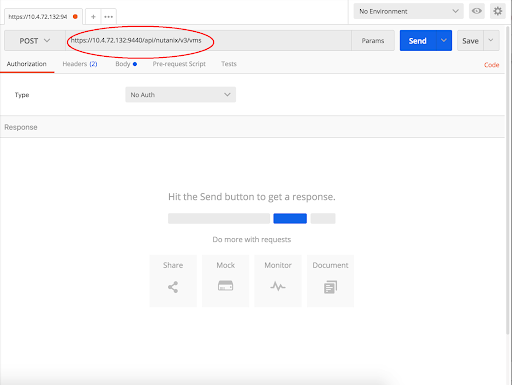
Enter the URL to create a VM
https://{{prism_central_ip}}:9440/api/nutanix/v3/vms
v3 exposes semantic URLs to make understanding and using the API easy
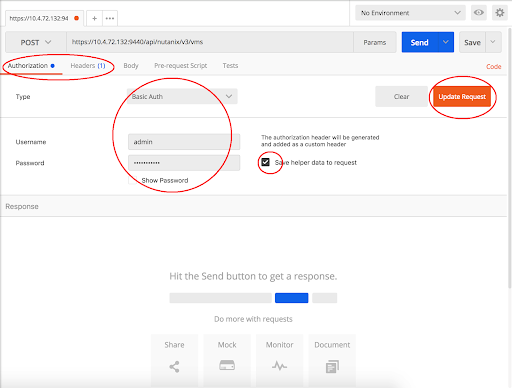
Configure basic authentication for this API call
Click the Authorization tab and select Basic Auth from the Type dropdown
- Enter Prism credentials of the cluster, and click Update Request:
Username - admin
Password - Use the “Prism login password” from handout
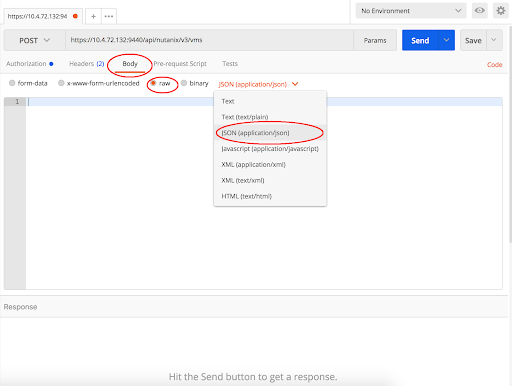
Set the media type to application/json
Click the Body tab
Select the radio button for raw
Click the Text dropdown and select JSON (application/json)
Fill out the body
Copy or type the following JSON as the VM intent input
{
    "spec": {
        "name": "API-VM-<initial>",
        "cluster_reference": { "kind": "cluster", "uuid": "<clusteruuid>"},
        "resources": {
            "num_vcpus_per_socket": 1,
            "num_sockets": 1,
            "memory_size_mib": 1024,
            "power_state": "OFF"
        }
    },
    "api_version": "3.0",
    "metadata": {
        "kind": "vm"
    }
}
Change the VM’s name to add your initials at the end of VM name. Replace <initial> with your initials
You will need to replace <clusteruuid> with your cluster UUID from exercise 1
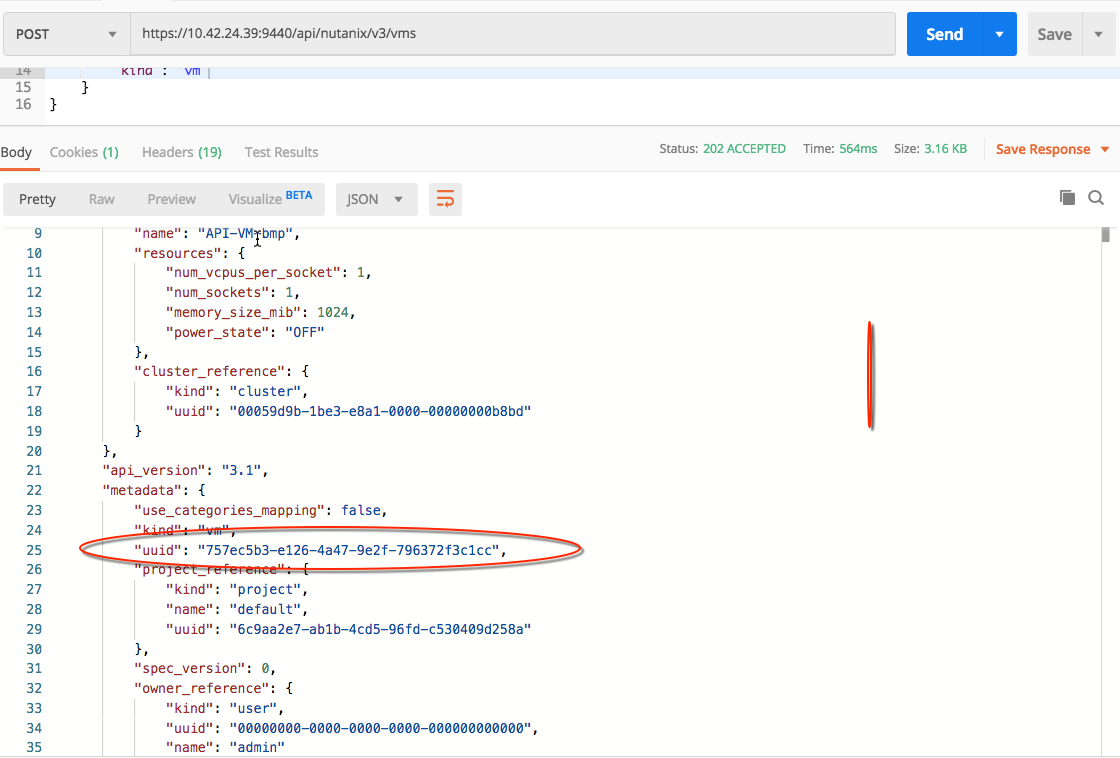
Take note of your VM UUID from the response
Click Send to submit the v3 API call
v3 provides a precise HTTP status and replies with the relevant intent response