File Analytics: Anomaly Rules
Overview
Define Anomaly Rules
Create two anomaly rules by going to Define Anomaly Rules from under the gear icon
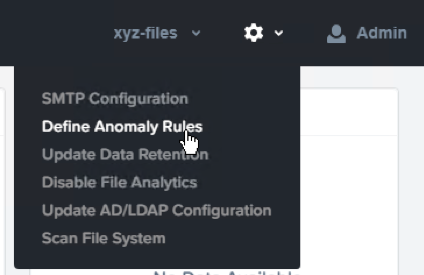
Choose Define Anomaly Rules and create a rule with the following settings
Events: Delete
Minimum Operation %: 1
Minimum Operation Count: 10
User: All Users
Type: Hourly
Interval: 1
Choose Save for that anomaly table entry
Choose + Configure new anomaly and create a second rule with the following settings
Events: Create
Minimum Operation %: 1
Minimum Operation Count: 10
User: All Users
Type: Hourly
Interval: 1
Choose Save for that anomaly table entry
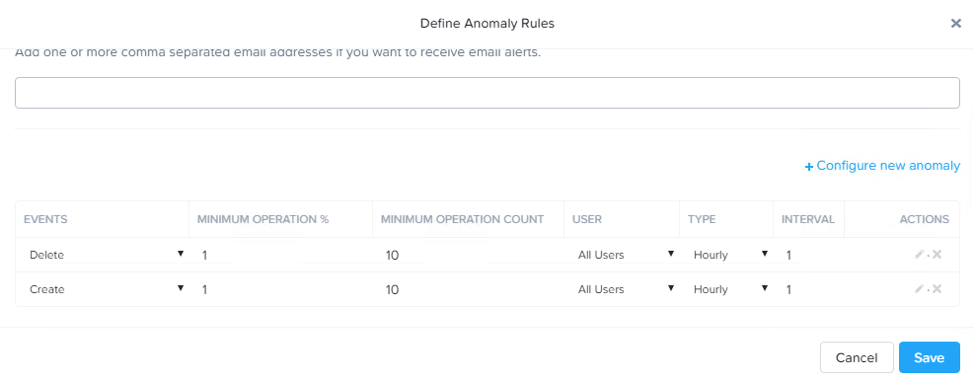
Select Save to exit the Define Anomaly Rules window
Load Sample Data
Go to the Sample Data folder in the Marketing share and copy, then paste that folder to the same share.
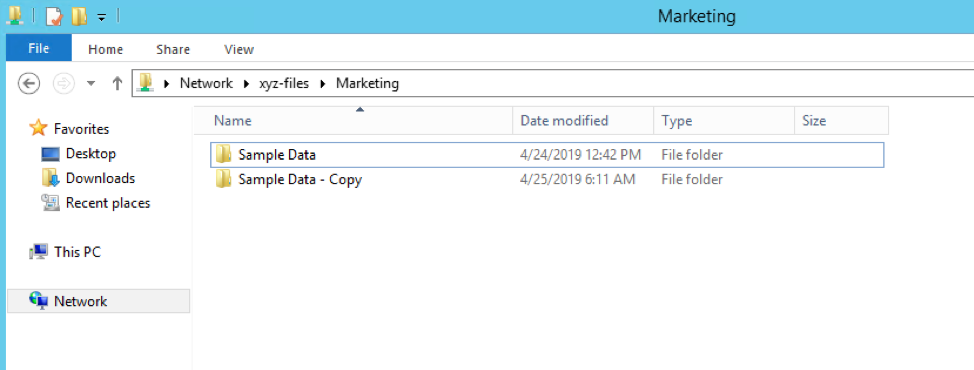
Now delete the original Sample Data folder.
Cause Error Condition
While waiting for the Anomaly Alerts to populate we’ll create a permission denial.
Note
The Anomaly engine runs every 30 minutes. While this setting is configurable from the File Analytics VM, modifying this variable is outside the scope of this lab.
Create a new directory called RO in the Marketing share
Create a text file in the RO directory with some text like “hello world” called myfile.txt
Go to the Properties of the RO folder and select the Security tab
Select Advanced
Choose Disable inheritance and select the Convert… option
Then add the Everyone permissions with the following:
Read & Execute
List folder contents
Read
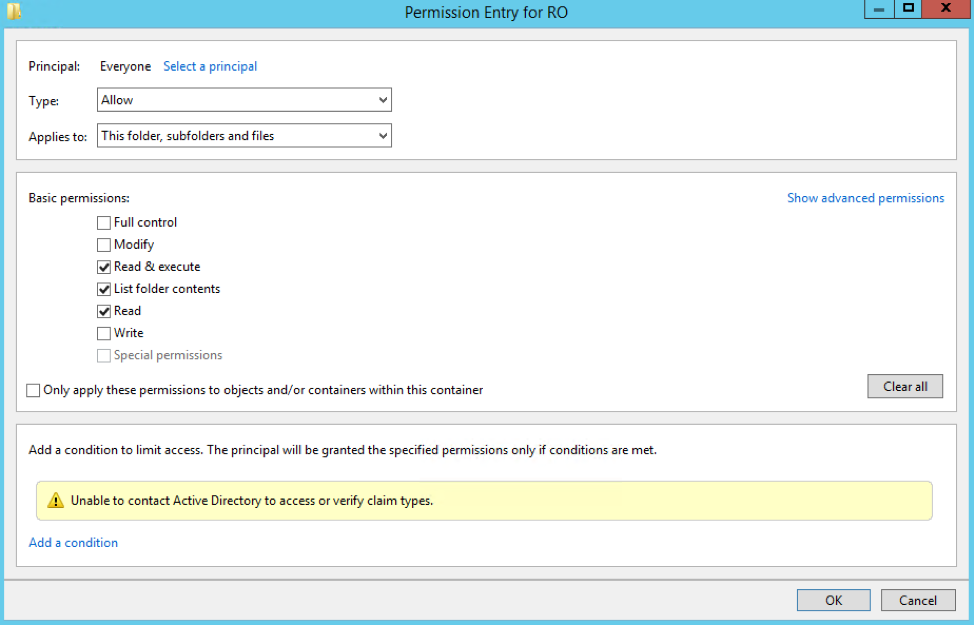
Choose OK then OK again
Open a PowerShell window as a specific user
Hold down Shift and right click on the PowerShell icon on the taskbar
Select Run as different user

Enter the following
User name: devuser01
Password: nutanix/4u
Change Directories into the Marketing share and the RO directory
cd \\xyz-files.ntnxlab.local\marketing\RO
Execute the following commands, the first should succeed, the second should fail:
more .\myfile.txt
rm .\myfile.txt
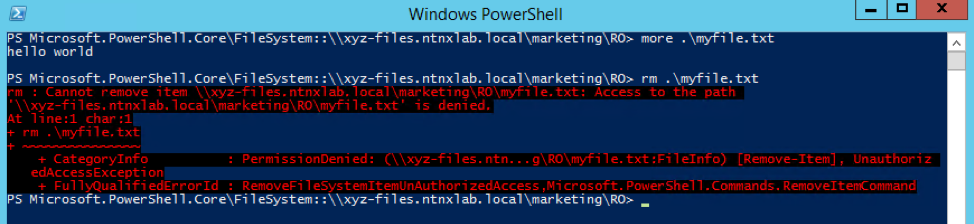
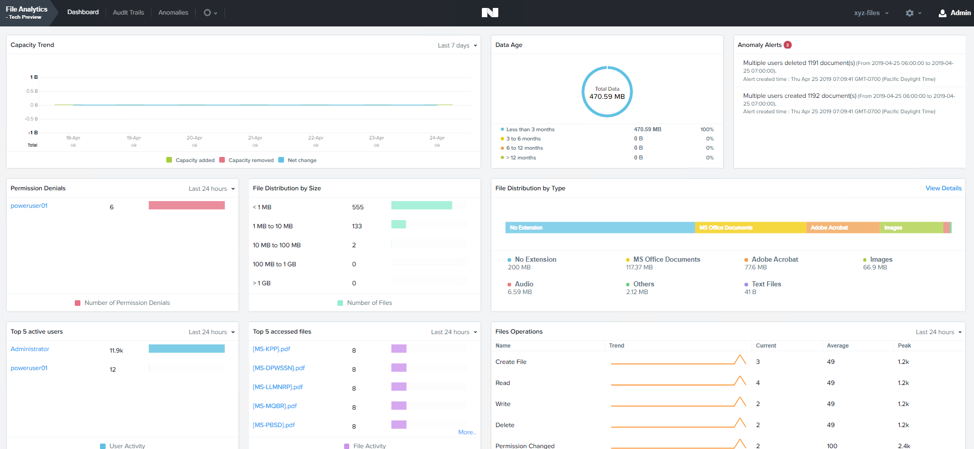
After a minute or so you should see Permission Denials in both the dashboard and the Audit Trails view. You may need to refresh your browser.
Note
The Capacity Trend dashboard panel updates every 24 hrs.